
Add Participant(s) to a Brightspace Course
When in your course go to the drop menu "Course Resources" in the upper right of the Course Navbar and select the "Classlist" link.
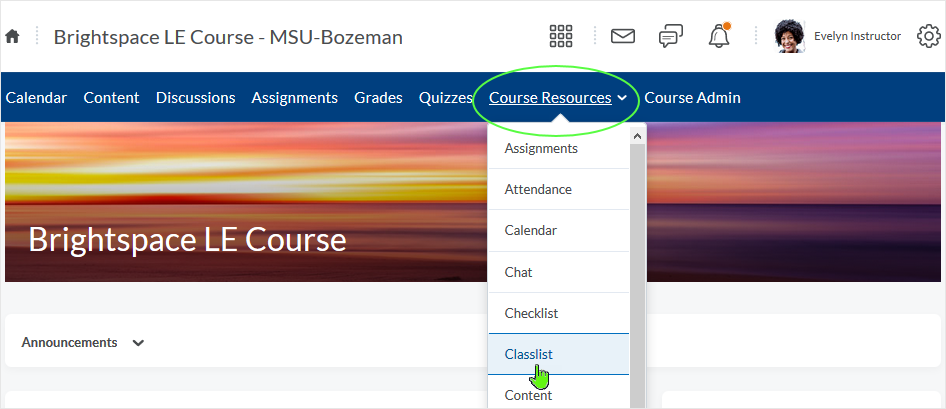
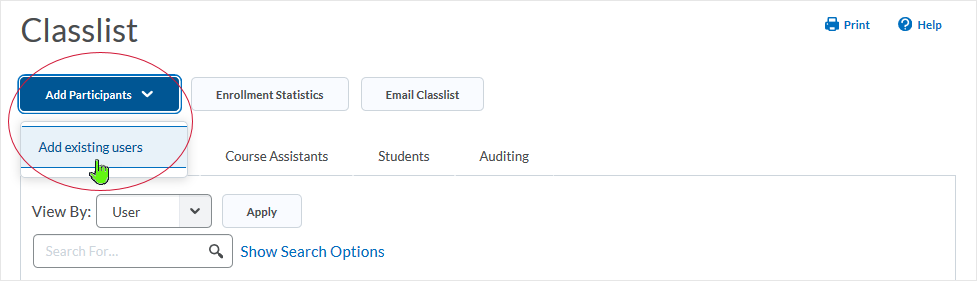
When in the Classlist, look to the top left and select the "Add Participants" drop menu – select "Add existing users" link.
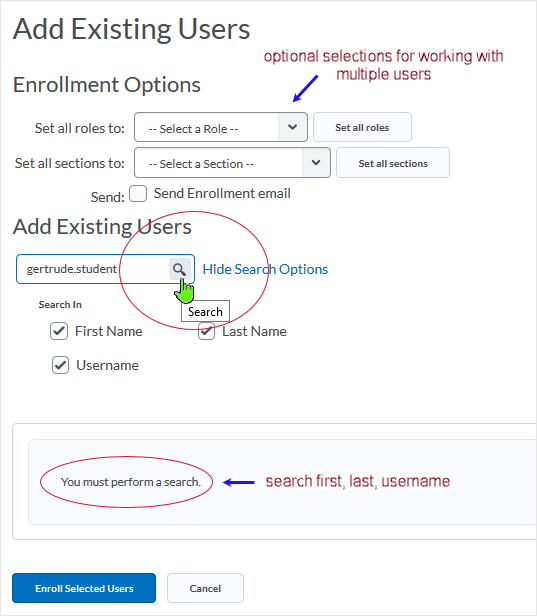
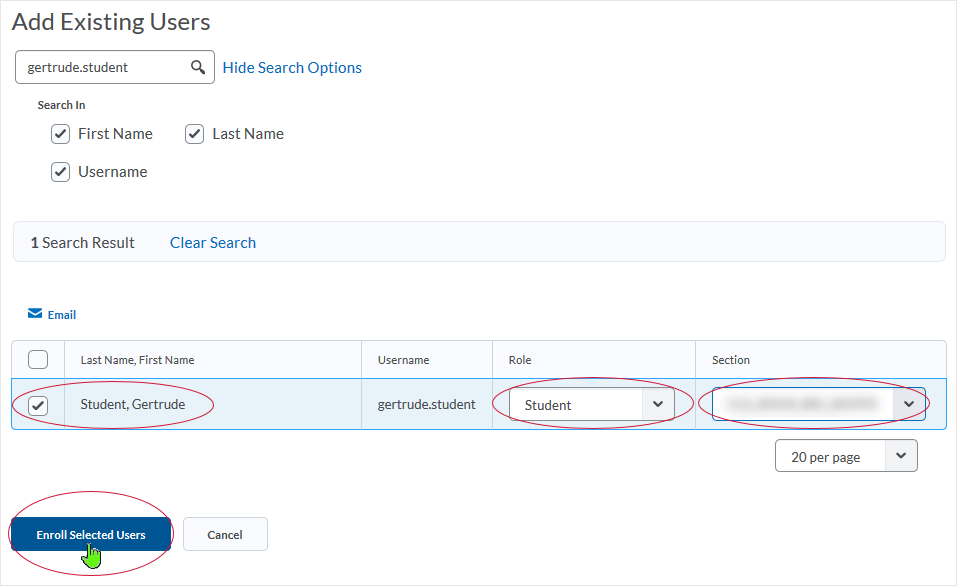
Search for the user to add into the course by entering information into the "Search for:" textbox located in the "Add Existing Users" area and then selecting the magnifying glass icon. "Search In" parameters can be adjusted as necessary by selecting/deselecting First Name, Last Name, and Username checkboxes.
Advised: When searching for users in the system, search last name and refine search from there. When searching common last name, using a first name may be helpful. When in doubt, if faced with mulitple search results, reach out to user and confirm username (typically first.last) before adding the user to a course.
When the user appears in the search results, select the checkbox associated with the user. Use the "Select a Role" drop menu to select the role that the user will hold in the course. Use the "Section" drop menu to place the user into the appropriate section.
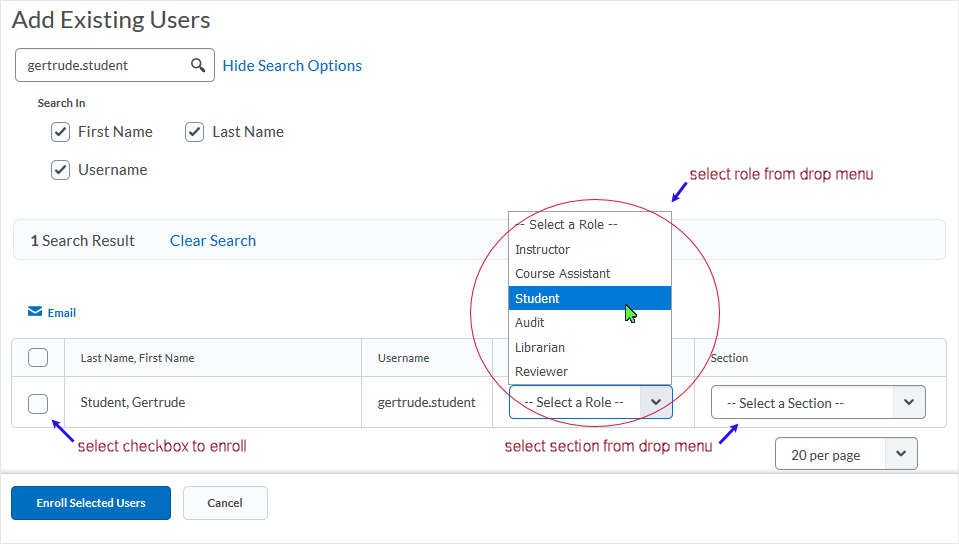
The role determines level of access for the user. Go here for an explanatory list of the roles available.
After the user has been selected and the role and section have been specified, click the "Enroll Selected Users" button and the user will be enrolled into the course.
After the enroll takes place, a "Conformation of Enrollment" screen displays detailing the enrollment.
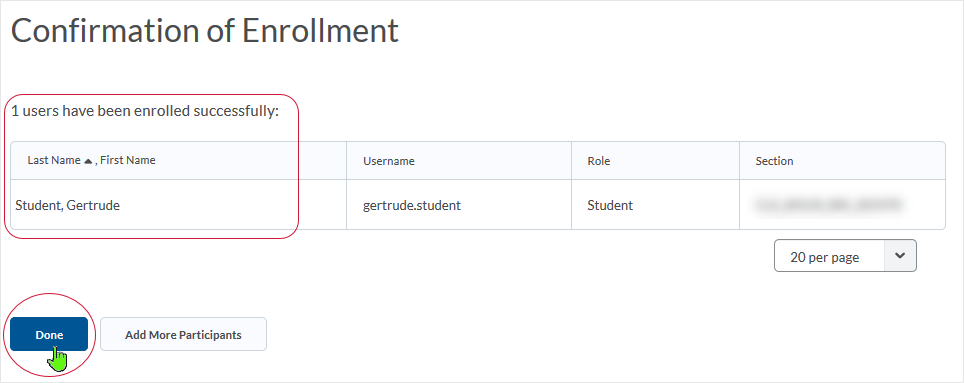
The user will now show up in the Classlist of the course. Select the "Done" button to return to the Classlist area.
Be aware:
Many common names will have multiple users associated - always verify that you have the correct user entered into the course at the proper role.
Some roles give more access then others - best to review the role to make sure it provides the appropriate level of functionality. Go here for an explanatory list of the roles available in the MSU-Bozeman Brightspace LE instance.
Additionally: If you are searching for users via "Add an existing user" and the user you are searching for does not appear after completion of your search you can contact Ecat Team staff for additional assistance.
What dialog boxes look like and how dialog boxes and browsers interact is dependent upon the operating system and browser being used. The screenshots in this tutorial may differ from the screen that the user is viewing when performing actions described.
Links will open in a new tab or window dependent on browser/OS configuration.
CD 201906