
StudyMate Campus
StudyMate Campus can be used by instructors and learners to create flash cards, self-assessments, and learning games.
StudyMate Campus is embedded in the Brightspace system. Selecting to go to the StudyMate area will take users to an external site which is the "My StudyMate Projects" area.
Instructors can access StudyMate Campus via Brightspace two ways as well as set up a learner share area:
Access via the Course Resources area
Go into a course.
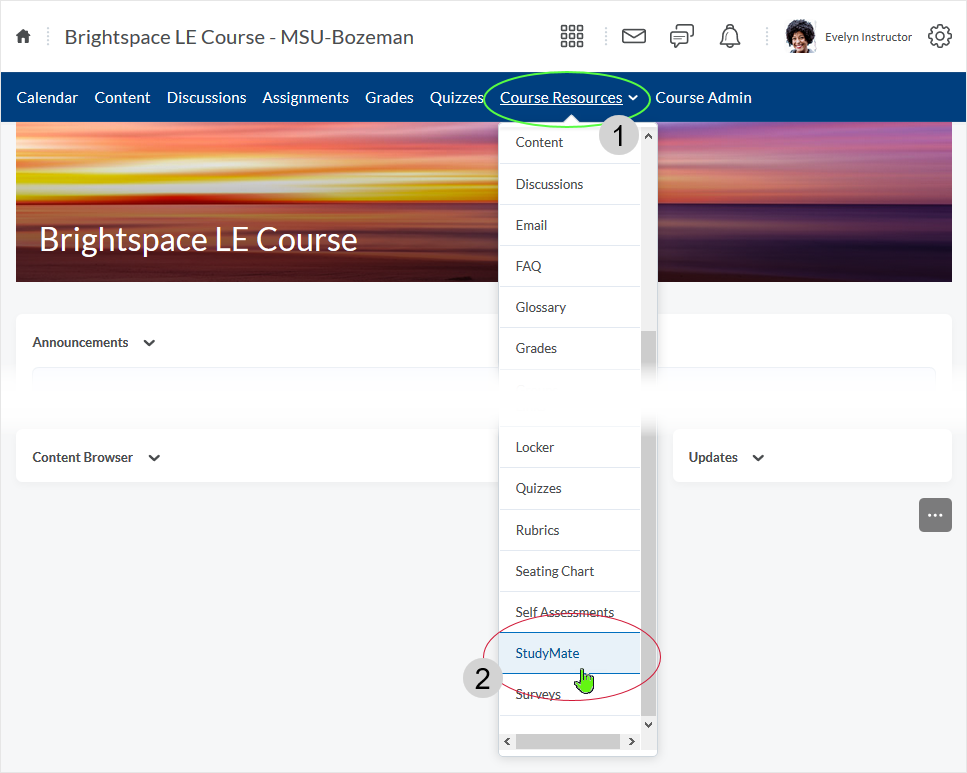
- select the Course Resources drop down menu
- select StudyMate link located towards the bottomstudymate
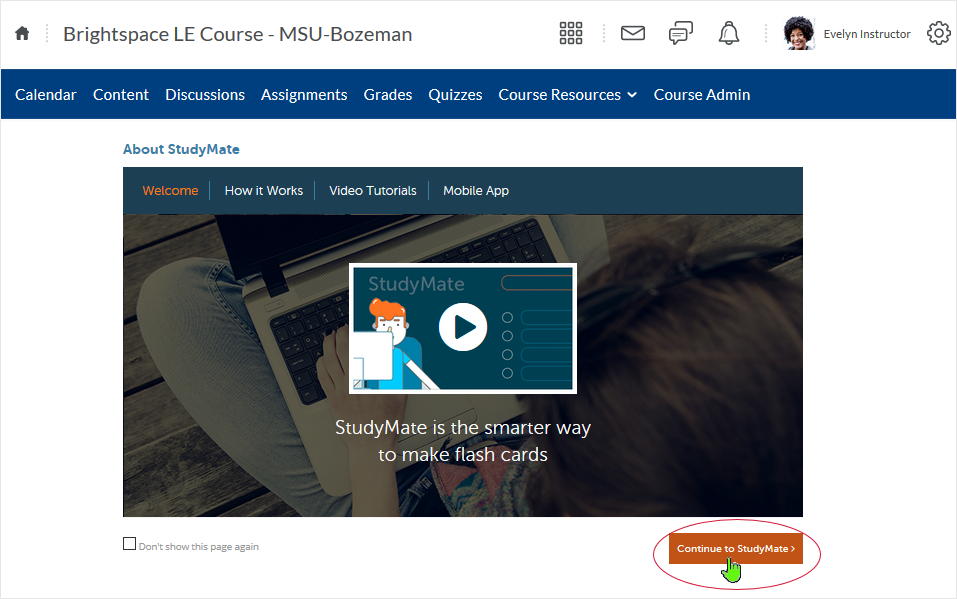
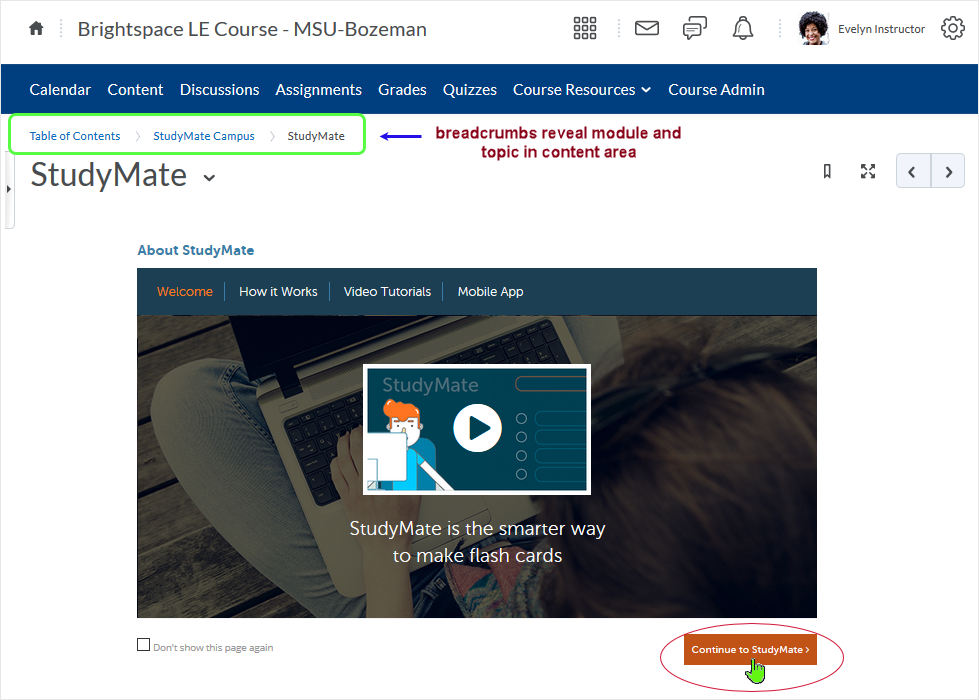
Selecting the link displays an "About StudyMate" page. User's select the "Continue to StudyMate" link (lower right) to go to their personal "My Study Mate Projects" area.
Dependent on whether the user has created StudyMate projects or not, the resulting page will display either the user created StudyMate Projects in the user's "My StudyMate Projects" area, or display the initial screen as below.
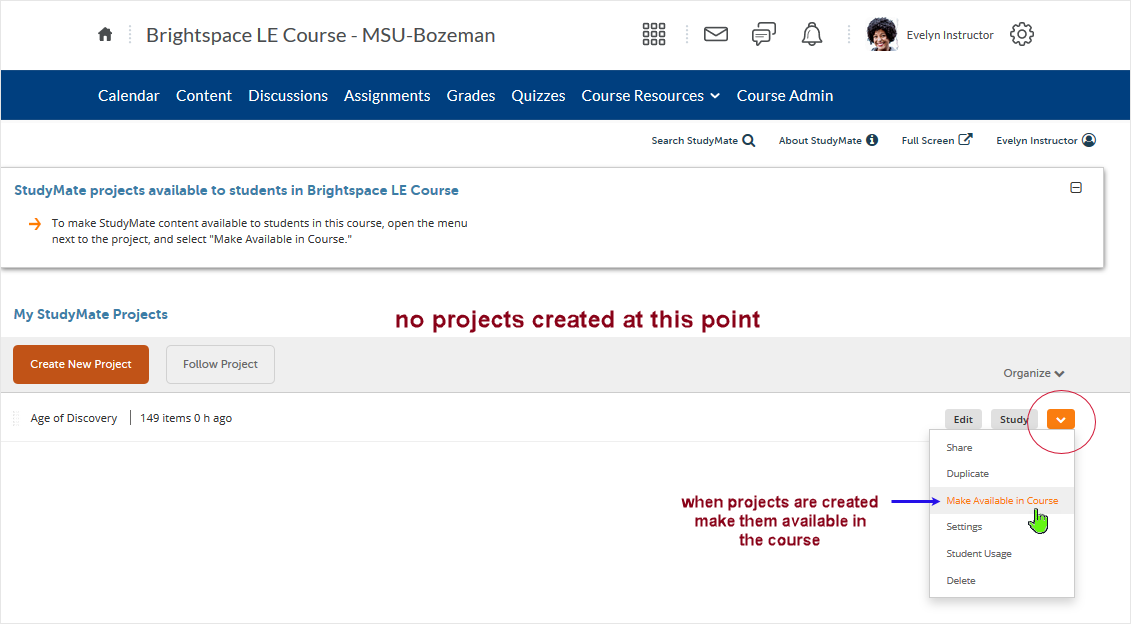
After projects are created users can make them available in the course.
Access via the Content Area in a course
Go into a course.
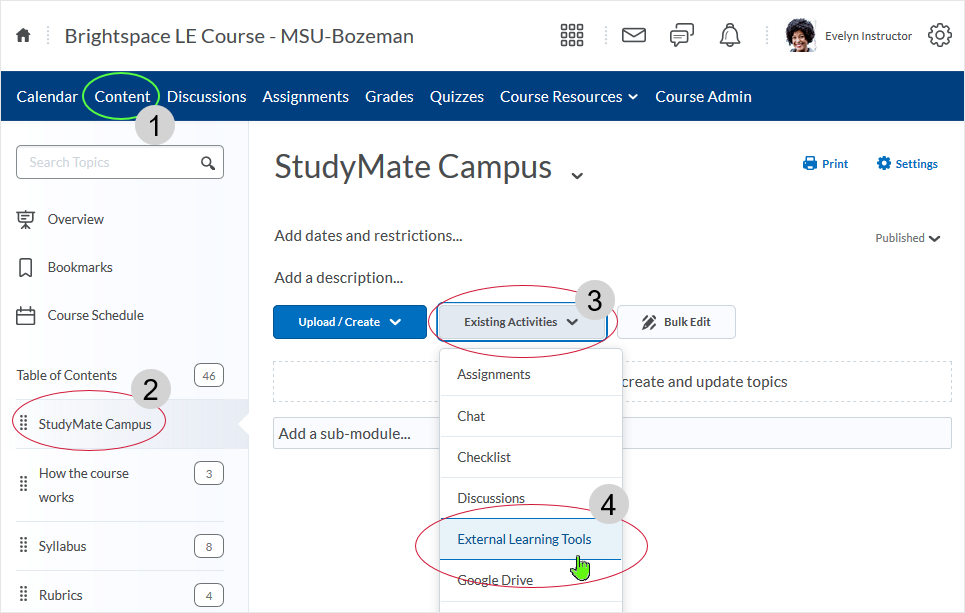
- select the Content link from the course navigation bar
- select a module in the Content area - in this case the module is named "StudyMate Campus"
- select the "Existing Activities" drop menu
- select "External Learning Tools" from the drop menu
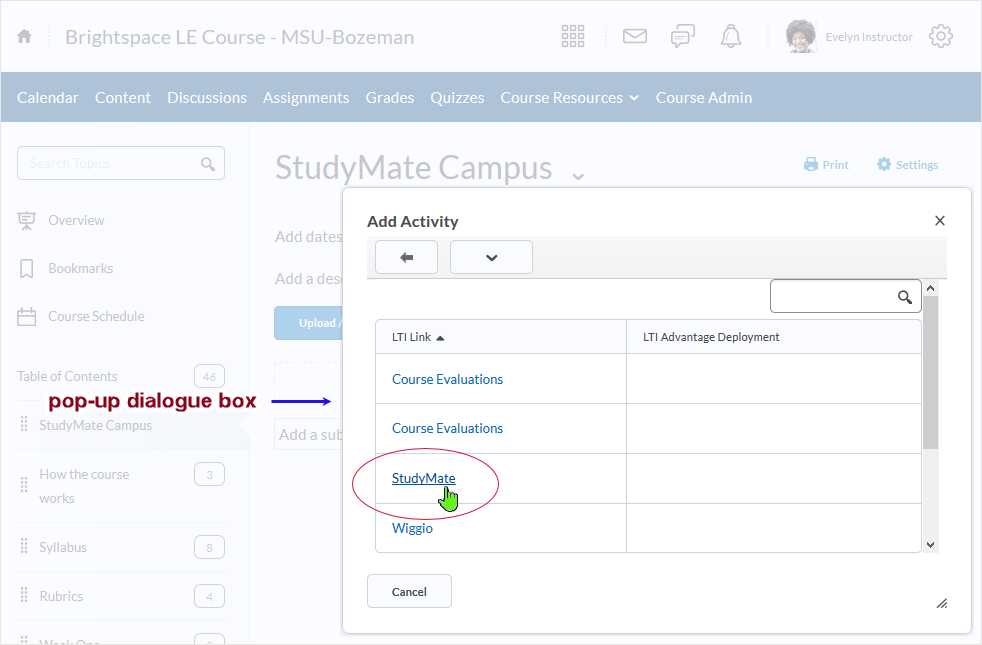
A pop-up window displays. Select "StudyMate" from the "External Learning Tools" "Add Activity" area.
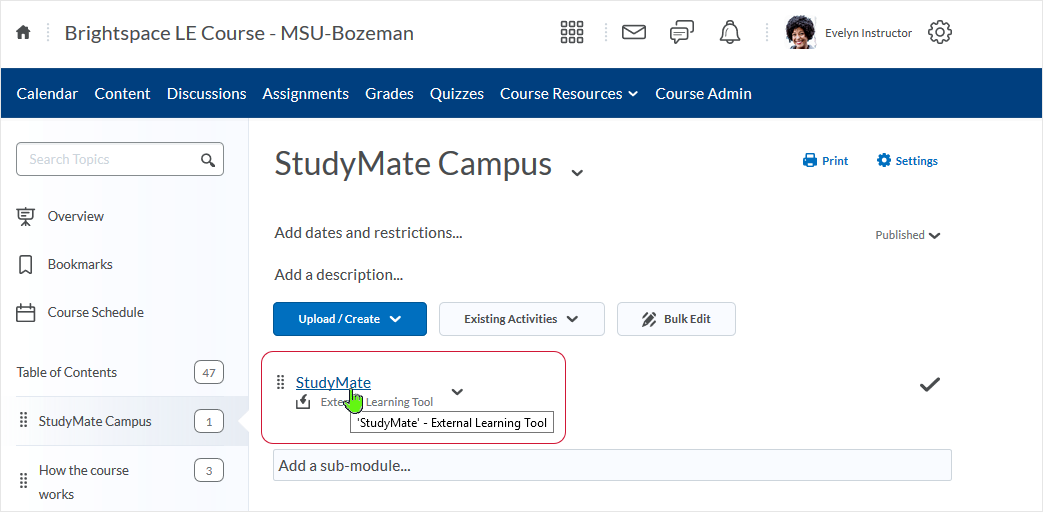
The "StudyMate" External Learning Tool displays in the module that has been created. Select it by clicking on it.
The "About StudyMate" page displays. Breadcrumbs illustrate the path.
Note: If the user wants to prevent this page from showing in the future, user can select the "Don't show this page again" checkbox in lower left.
Dependent on whether the user has created StudyMate projects or not, the resulting page will display either the user created StudyMate Projects in the user's "My StudyMate Projects" area, or display the initial screen as below.
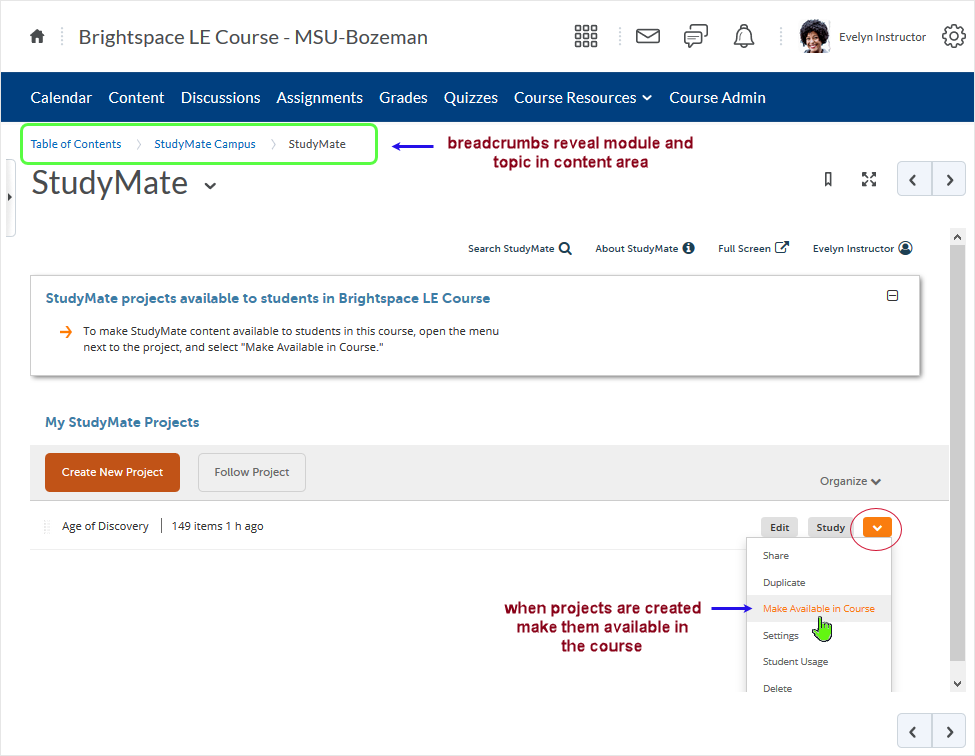
After projects have been created, instructor can make StudyMate projects available to students in the course by using the "Make Available in Course" link from the dropmenu located to the right of the project.
How to set up a Learner Share area in a course
Learner roles have the ability to create StudyMate Projects. Because each StudyMate project area is unique to each user, to allow sharing of StudyMate Projects between learners, it is helpful to provide a share space inside of Brightspace to facilitate the sharing of these resources.
One of the easiest ways to enable the sharing of these resources is to create a Discussion area dedicated to sharing resources.
Create a discussion share
Log in to Brightspace and access the course in which to create the share area.
- select "Discussions" link from the course nav bar
- select the "New" button
- from the drop menu create a Forum - in this case the forum is named "Shares"
- after the forum is in place, create a topic - in this case the topic is named "Sharing StudyMate projects"

Select this link to access a companion tutorial which has been made available for learners.
Links will open in a new tab or window dependent on browser/OS configuration.
CD 201909