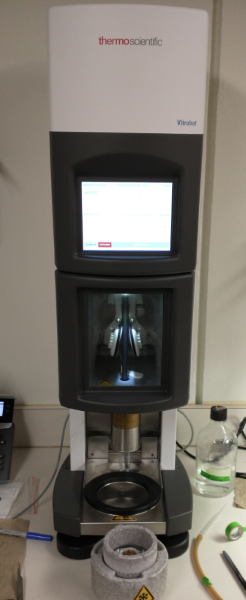
Vitrobot
Documentation for the Thermo-Fisher Vitrobot Mark. IV
Specifications
Temparature control: 4 - 60°C (Peltier controlled heating/cooling)
Humidity control: ambient to 100%
Automated blotting and plunging
- Turn on the instrument (the on-off switch is behind the instrument).
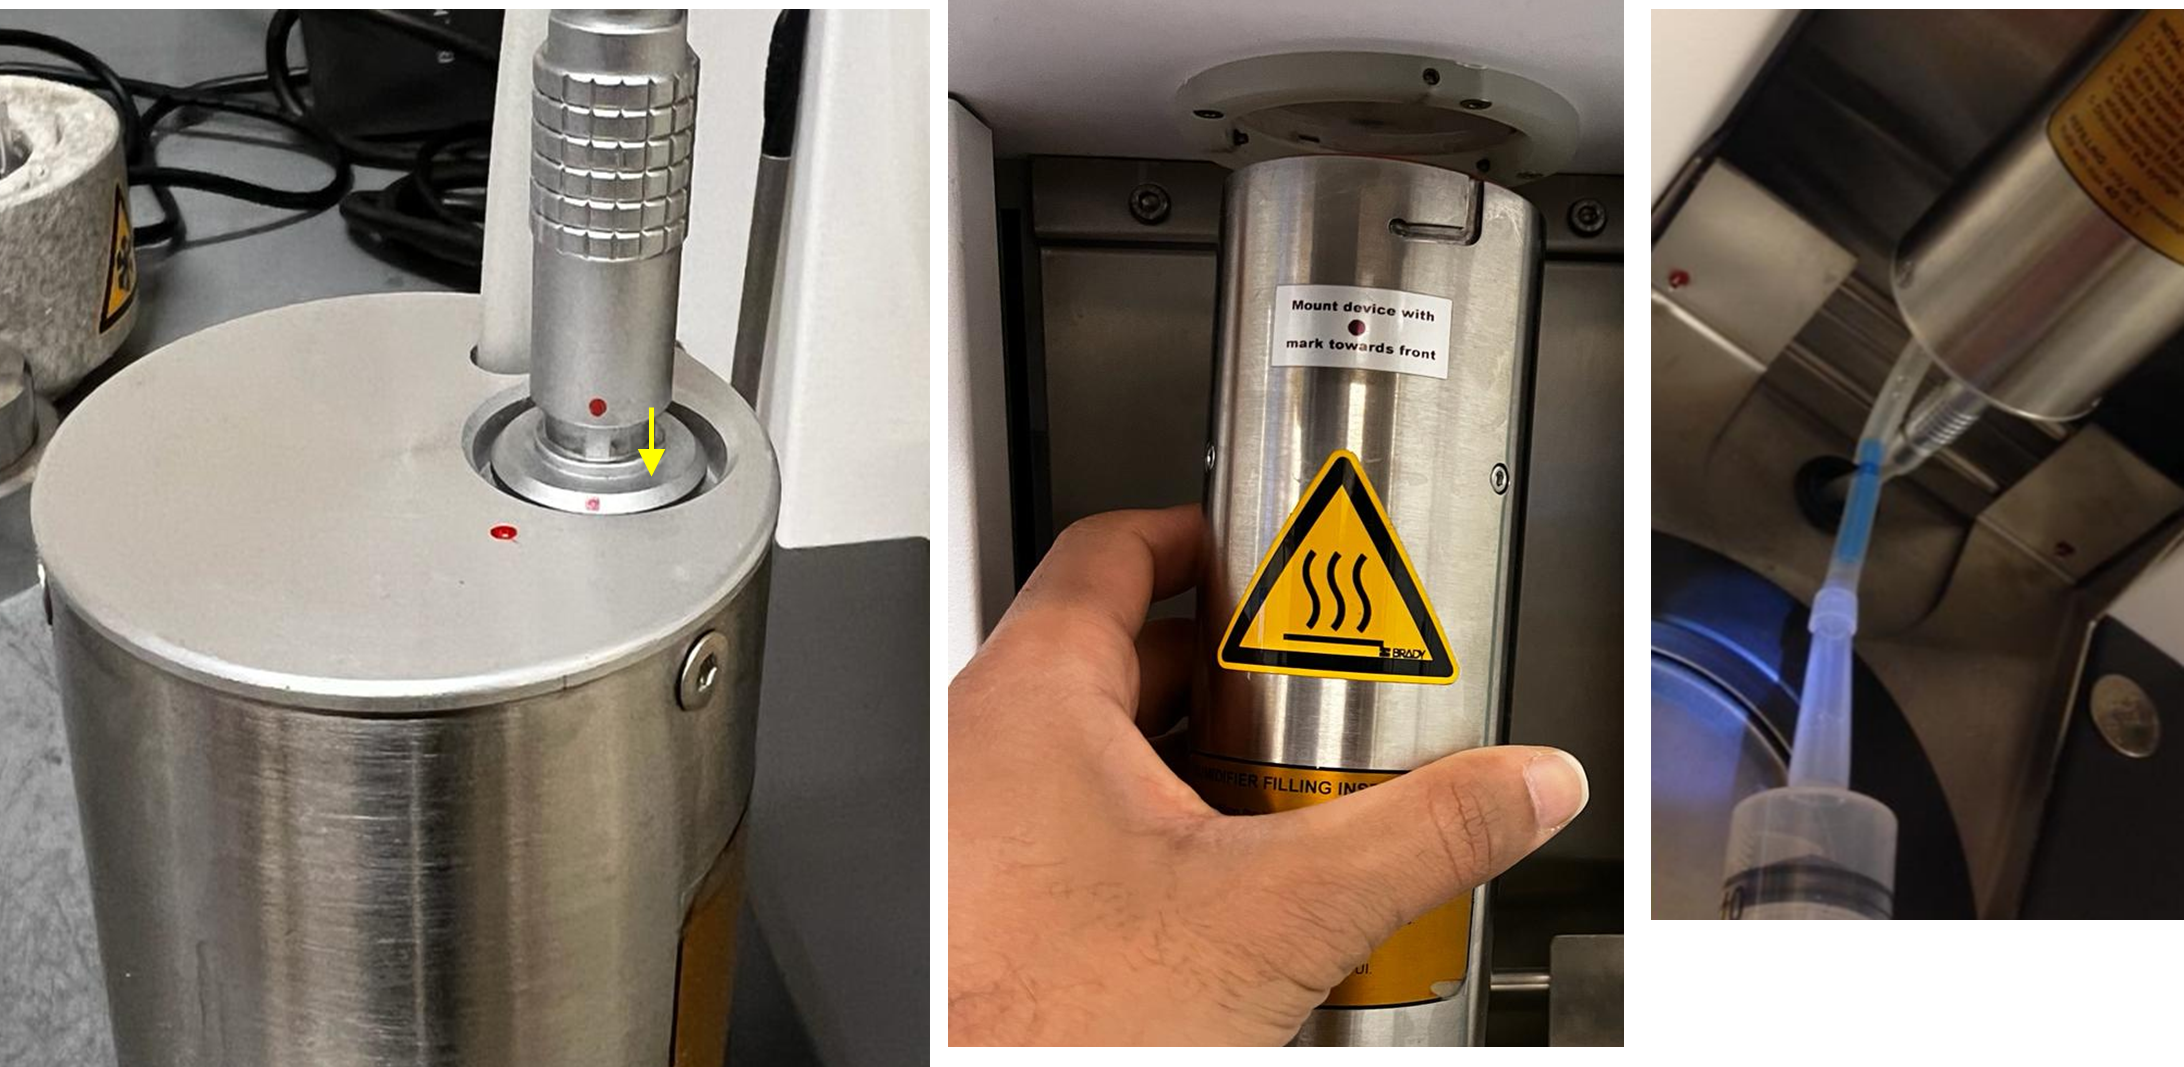
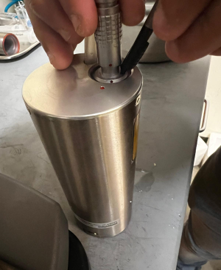
- Connect the vitrobot cable to the bottom of the Humidifier, ensuring the red dots
align.
(After use, disconnect humidified by pressing the button (yellow arrow) while pulling the cable away to avoid damage to the Humidifier.) - Install the humidifier in the vitrobot, ensure the O-ring is properly placed and warning sign sticker facing front.
- Fill 30 mL Distilled water in the humidifier with the 60 ml syringe.

- Place the filter paper on the plastic ring and mount them in the vitrobot.
Do not touch the filter paper with bare hands.
- Set the freezing conditions like temperature (4 °C) and, humidity (100%) in Console tab; and process parameters like Blot Time, Wait Time, Blot Force, and Blot Total
Wait until the temperature and humidity reach set conditions.
- Place ethane cup, gridbox holder, spider and anti-contamination ring inside the base
LN2 container.
- Fill the liquid nitrogen in the outer ring (outside ethane cup) and let it cool for 10-15 minutes.
Make sure that the ethane cup is properly cooled, and residual liquid nitrogen drops are evaporated from ethane cup.
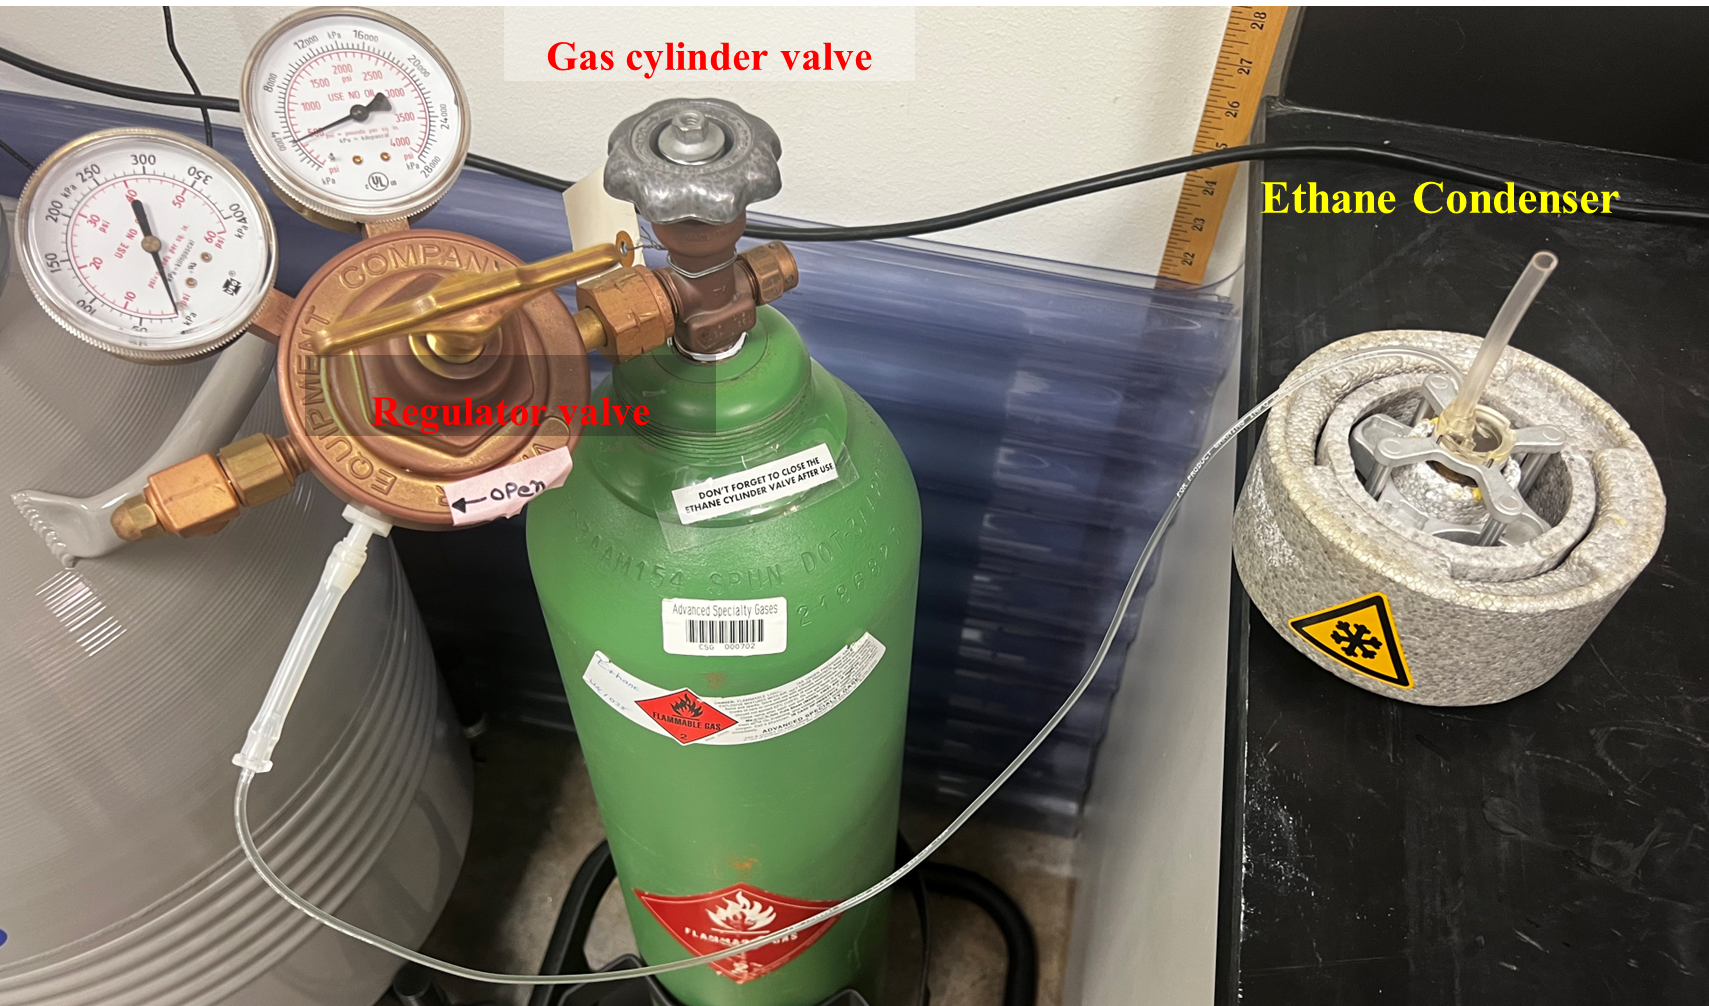
- Place the “Ethane Condenser” on the ethane cup and let it cool for 5-10 minutes.
- Open the Ethane gas cylinder and manage the flow of gas using regulator valve at around
10 psi on the second pressure gauge. (You hear sound of bubbling of ethane gas condensing
into liquid)
- Once the ethane cup is full, you will notice the over-flow of excess ethane from the
exit terminal of the ethane condenser.

- Close all valves on ethane gas cylinder and let ethane condenser dry up at room temperature.
Before you start the freezing process make sure that desirable freezing parameters (temperature and humidity) are achieved.
- On Vitrobot touchscreen press “Place New Grid”, this will bring plunge rod down.
- Pick up a glow discharged grid from edge using Vitrobot tweezer, gently tap the tweezer to make sure that grid does not fall off.
Pick up the grid such that when tweezer is in the Vitrobot chamber, the support film is facing towards your convenient side entry port.
- Attach the Vitrobot tweezer on plunge road, and press “continue” touchscreen. (This
will retract the plunge road and the loaded Vitrobot tweezer inside the freezing chamber.)
- Place an empty cryo grid storage box in the grid holder and let it get cool, and fill
LN2 if necessary.
- Make sure that the ethane is cooled (a solidified ethane will appear around the inner
circle of ethane cup), remove the spider and place the ethane holder on the ethane-lift.
- Press “Place Ethane container” on the touchscreen.
- Press on “Start Process”. (This will bring down the grid to the level of specimen
entry port.)
- Apply 3-4 µL of sample by transferring sample drop from edge of the micropipette tip to the grid without touching tip to the grid. Do not forget to close the sample entry port after sample application.
- Press “Continue “on the touchscreen. This will remove the excess sample from the grid
by applying specified blotting parameters.
- Carefully detach the Vitrobot tweezer from the plunge rod and move the ethane container
from Vitrobot’s ethane-lift to the benchtop. Use your both hands in this process and
make sure that the grid stays submerged in liquid ethane and the grid does not bump
on the side of ethane cup.
- Quickly transfer the vitrified grid into the liquid nitrogen and then into the cryo
grid storage box.
- For the next freezing cycle (next grid), dry the Vitrobot tweezer with hair dryer
and wipe them before loading it on plunge rod.
- Make sure that all the slots on cryo grid storage box are accessible, and do not blocked
by screw cover, if needed use pre-cooled tweezer to move screw cover to make grid
slot accessible.
- After filling the cryo grid box, close the box with the lid using pre-cooled appropriate tools and transfer to liquid nitrogen transfer dewar.
- Make sure to remove vitorbot tweezer from the plunge rod.
- Press “Exit” on the touchscreen and press “YES” on the confirmation dialog box.
- Remove humidifier from Vitrobot by rotating it and pour excess water into cup or beaker.
- Disconnect humidifier by pressing the button (Red Arrow) while pulling the cable away
to avoid damage to the Humidifier.

Note: DO NOT APPLY EXESS FORCE TO PULL HUMIDFIER FROM VITROBOT.
- Place the ethane container on the bench, you can pour the ethane and LN2 in the Styrofoam
box placed under the bench and let it dry at room temperature.
- Remove the blotting papers and clean the white plastic rings with ethanol. Place rings
back into the Vitrobot chamber.
- Place Vitrobot tweezer and other tools for air dry at room temperature and put them
back to their designated location once they are dried.


