
StudyMate Projects: Learner Share
A way for Learner's to share StudyMate projects with one another
To share learner created StudyMate Projects in Brightspace, learners can post links to the StudyMate Projects they wish to share with other users via an instructor-created discussions share space.
StudyMate Campus is embedded in the Brightspace system and can be used by both instructors and learners to create flash cards, self-assessments, and learning games. Selecting to go to the StudyMate area will take users to an external site which is their own unique "My StudyMate Projects" area.
How to create Study Mate Projects from inside Brightspace
Log in to Brightspace and go into a course.
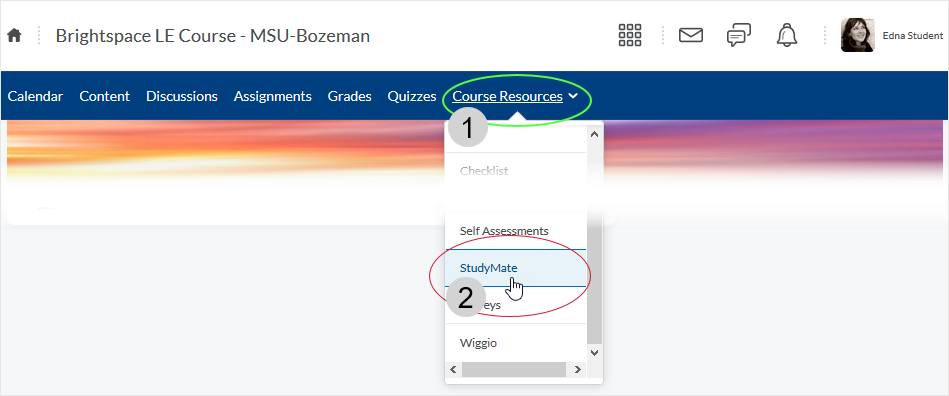
- select the Course Resources drop menu
- select StudyMate from the menu
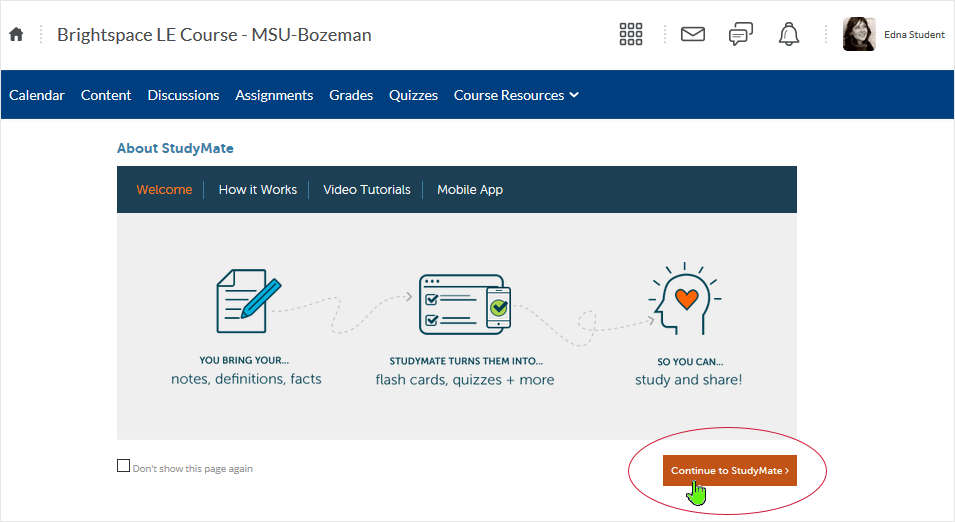
Selecting the link displays an "About StudyMate" page in the Brightspace course. User's select the "Continue to StudyMate" link (lower right) to go to their personal "My Study Mate Projects" area.
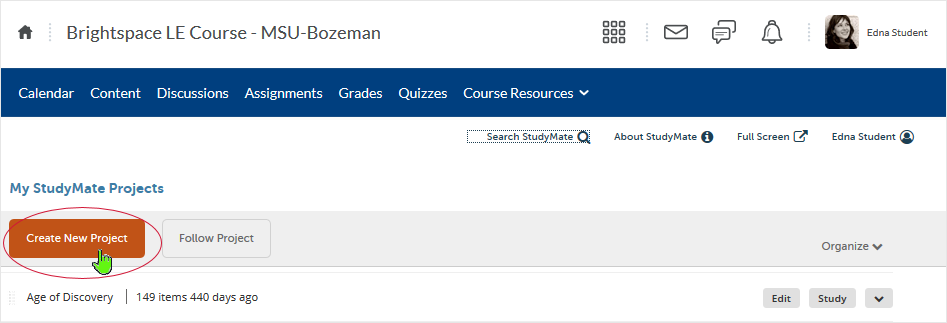
Dependent on whether the user has created StudyMate projects or not, the resulting page will display either the user created StudyMate Projects in the user's "My StudyMate Projects" area, or display the initial screen as below.
If a user wishes to make a new project, select the "Create New Project" button.
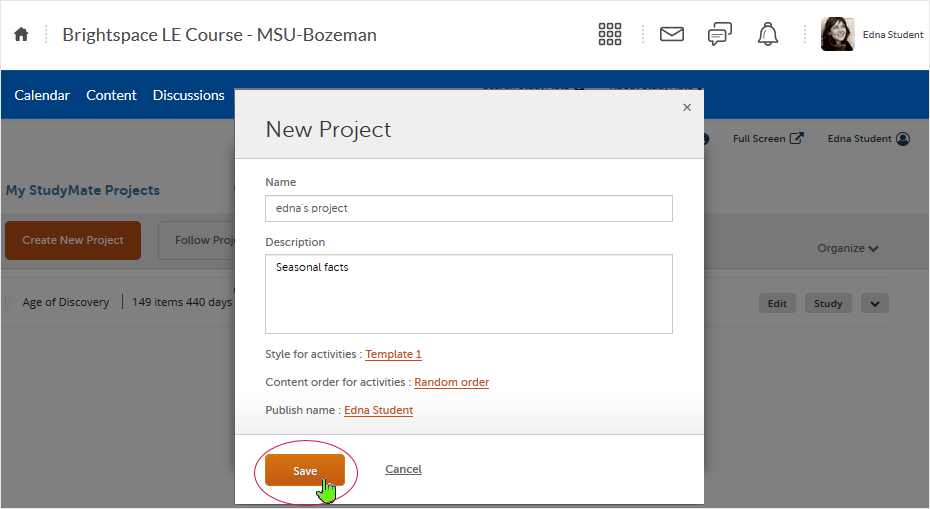
A dialogue pop-up window will display. Give the new project a name and description - then select the "Save" button.
The newly created project will show in the "My StudyMate Projects" area. Select "Edit to work in the project.
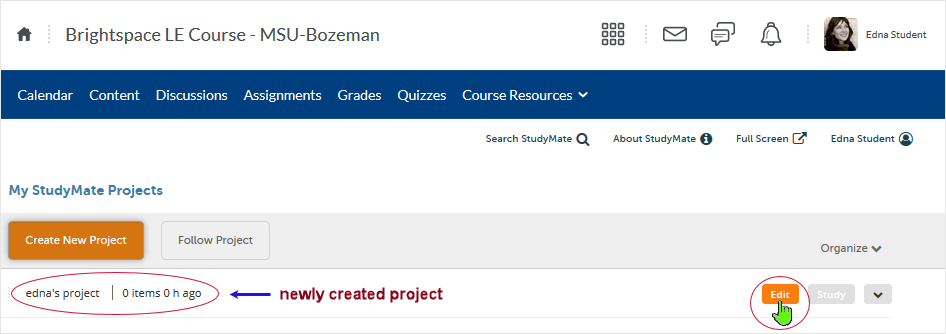
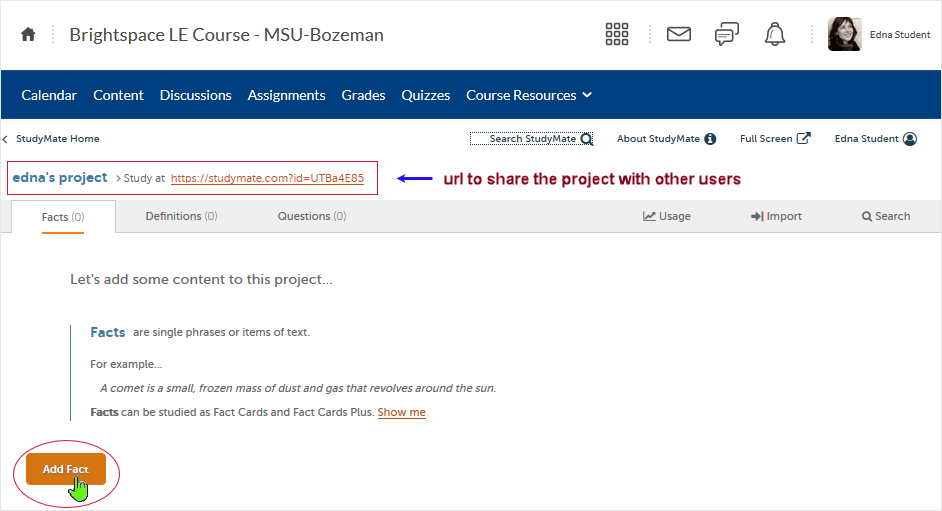
In this instance, the user has elected to create "Facts" in the project. User's can create facts, definitions, and questions for any project they choose. Select "Add Fact" to engage the on-line editing capabilities.
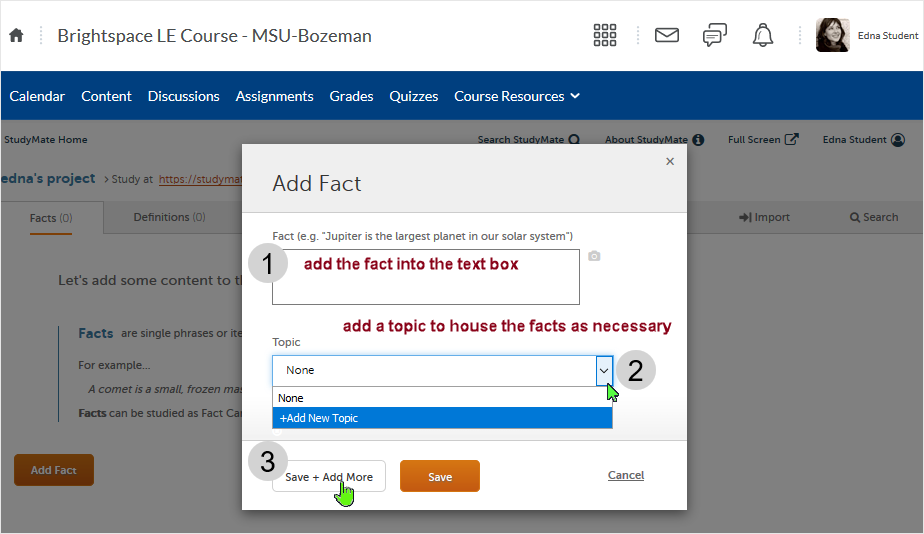
A dialogue box with editing capabilities pops up. This method of creating and editing is common across the interface.
After working in the project and creating/adding the appropriate study aids, users can navigate back to the "StudyMate Home" area by selecting the StudyMate Home breadcrumb.
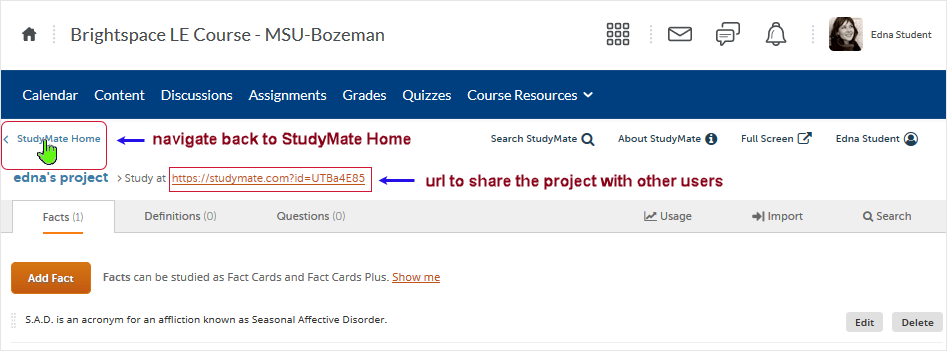
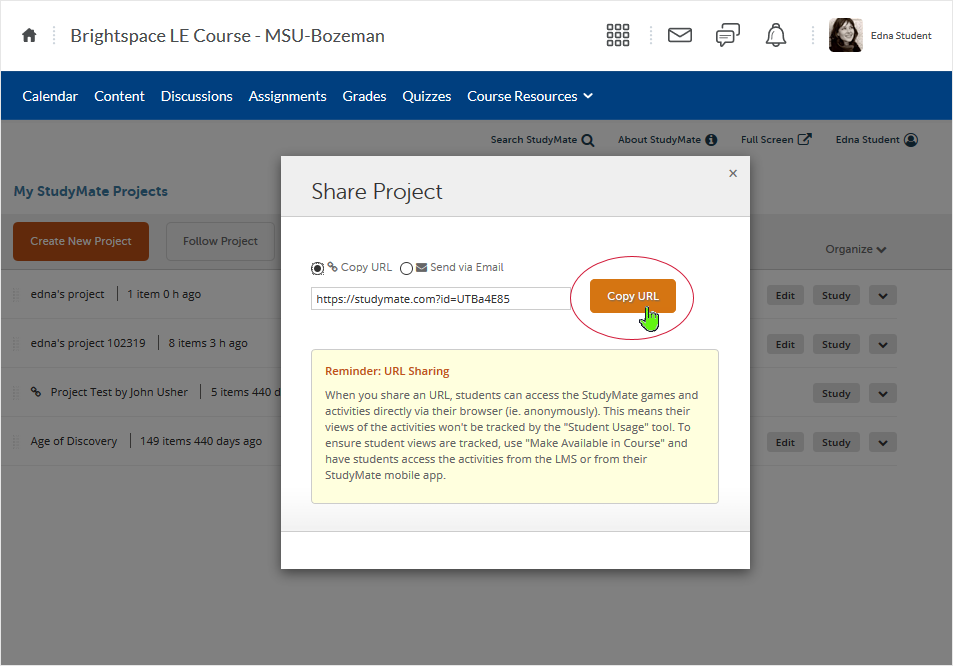
When back at the "My StudyMate Projects" area, users can elect to "Share" the project by selecting the "Share" link from the drop menu (accessed by selecting the down pointing arrow on the right).

After a project is created the project supplies a url that can be copied and then pasted. This allows the project to be shared with any user who is given access to the url.
How to share StudyMate Projects with other users in Brightspace
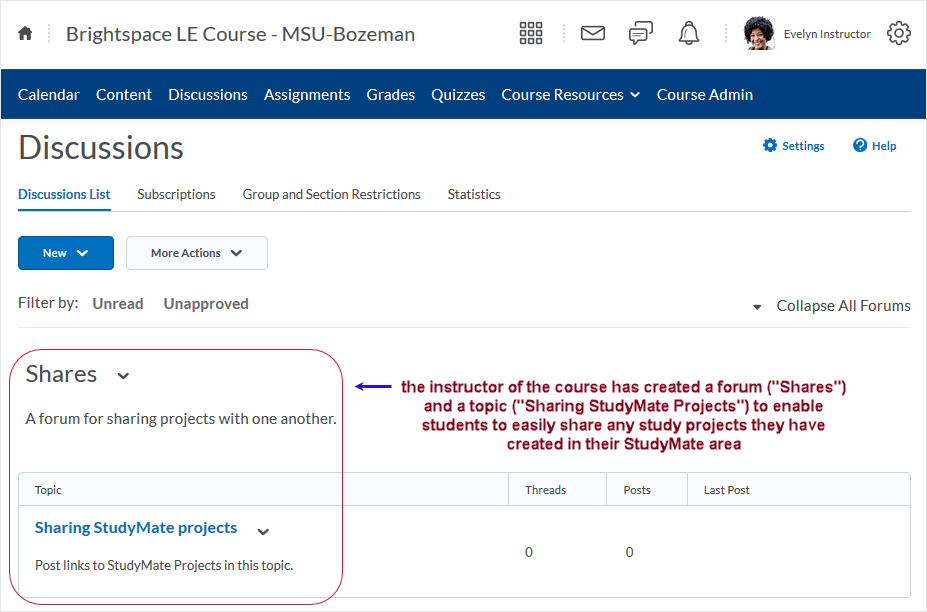
In the Brightspace area, an instructor can create a Discussions area to fashion a mechanism for learners to share their developed "My StudyMate Project" study resources.
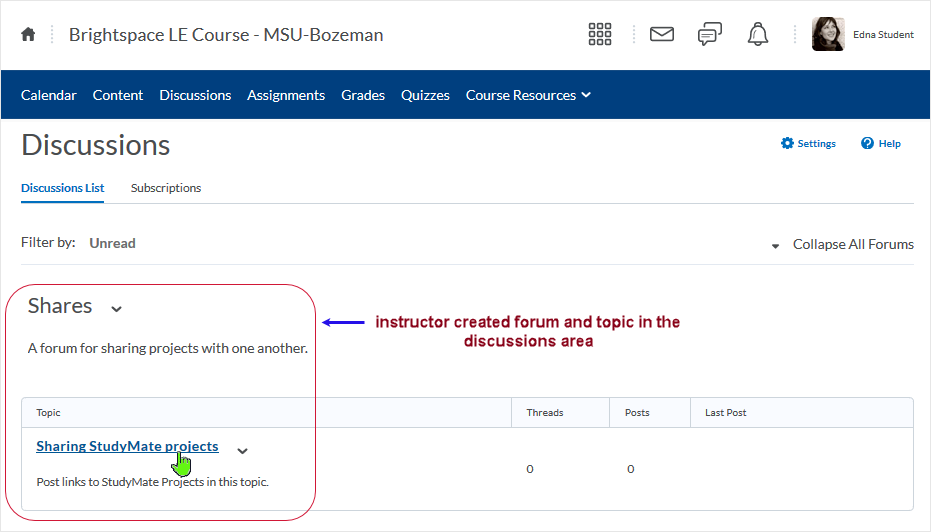
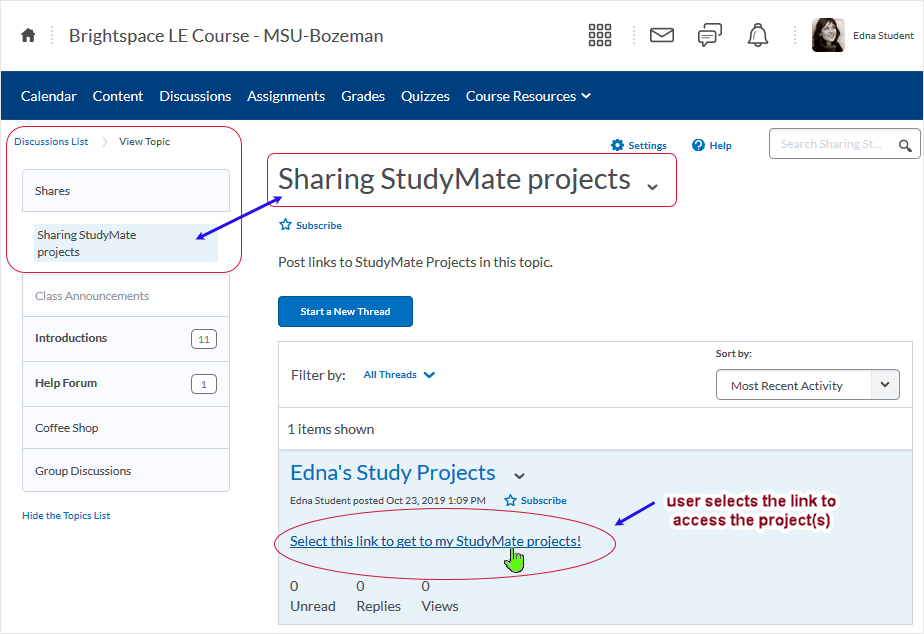
As illustrated in the image directly below, the instructor has created a forum entitled "Shares" and then lodged the "Sharing StudyMate projects" topic in the forum to facilitate easy sharing of the url.
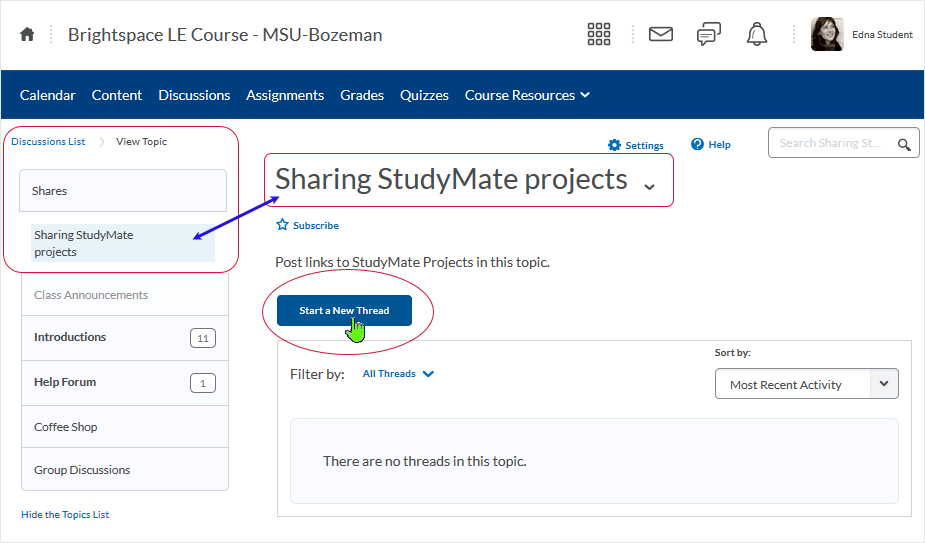
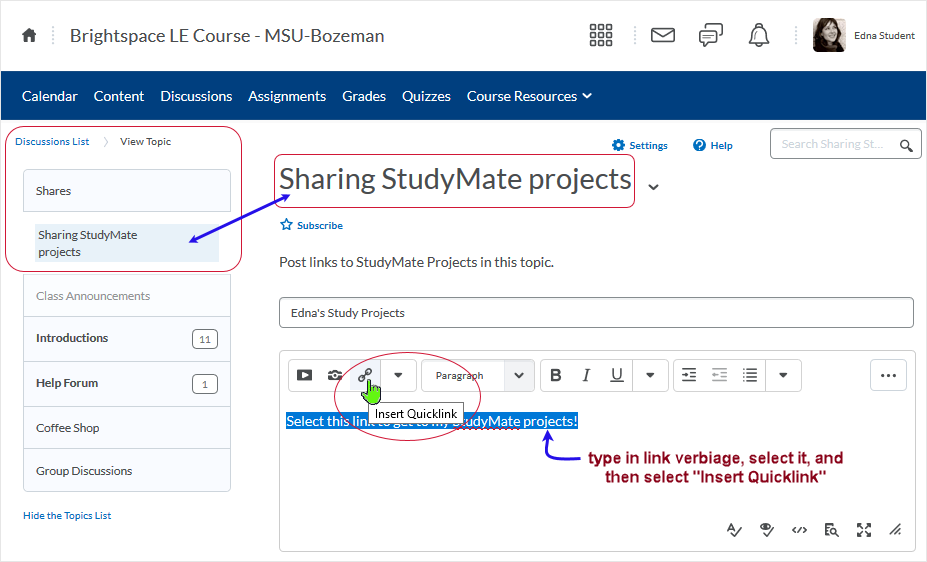
To share a "StudyMate Project" using the Discussions area, when in the course, the learner enters the "Sharing StudyMate projects" topic.
When in the topic, the learner elects to "Start a New Thread" by selecting the appropriate button.
There are different ways to approach establishing a Quicklink in a post.
For instance, prior to selecting the Quicklinks button, the user can type in the link verbiage and then select the verbiage and click the "Insert Quicklink" button. This automatically associates the verbiage that a user will select to access the appropriate URL to the site to which the quicklink is associated.
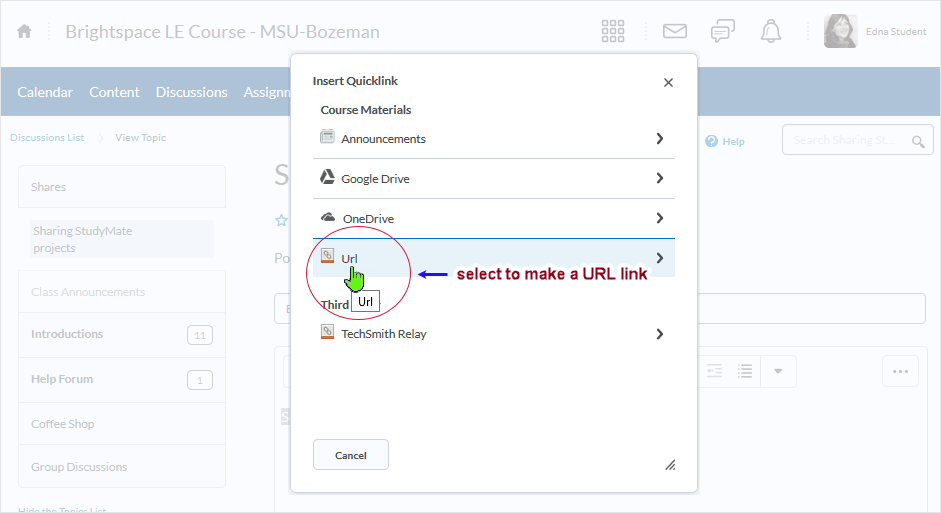
After selecting the "Insert Quicklnk" button, the user selects "Url" from the menu.
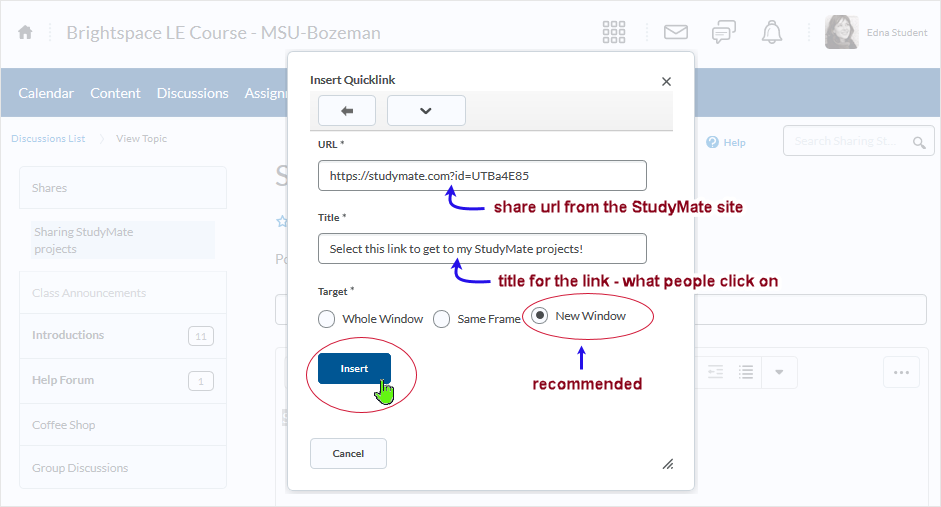
On the resulting dialogue box, the user pastes the url which, when selected, connects to the "My StudyMate Projects" area specific to a user's unique StudyMate area.
The "Title" of the link is already populated with the language that was created and selected (if using the earlier step above - note that the verbiage can be changed as necessary or entered as necessary dependent on user workflow preference). The user selects to make the link open in one of three different ways (Targets): Whole Window; Same Frame; or New Window.
Recommended: use "New Window" target to clearly differentiate from the course area and the StudyMate Projects area.
Select the "Insert" button to finish the job.
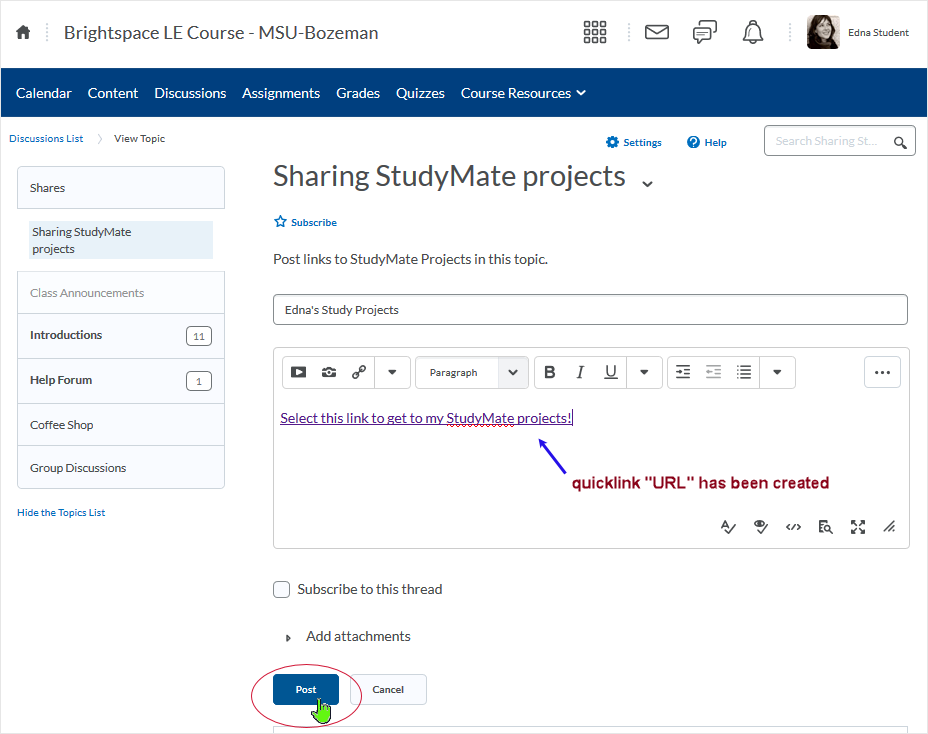
Once the quicklink url has been created, select the link to test the link to make sure it functions properly. If all is in order, select the "Post" button to publish the discussion item to the discussion topic for access by other users.
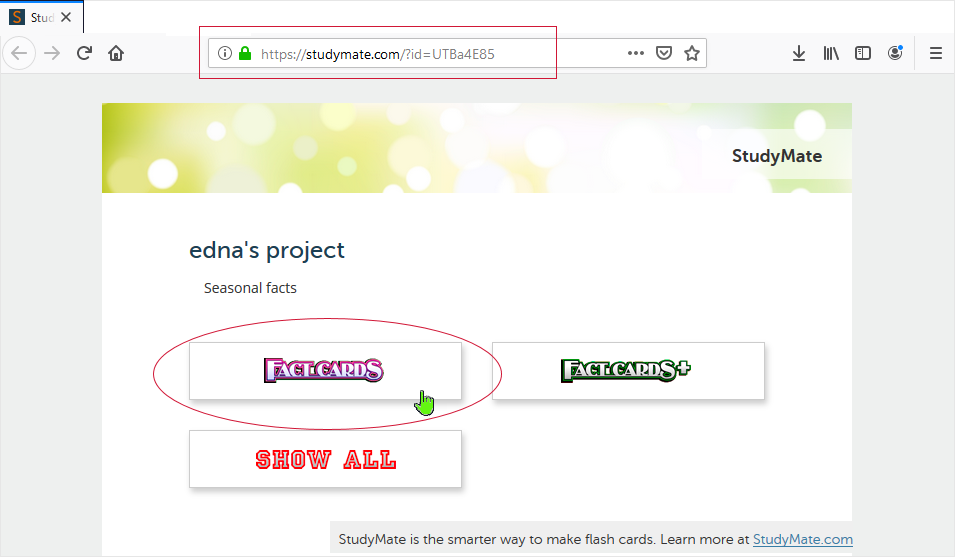
Selecting a working link...
...yields connection to a StudyMate project.
CD 201910