
How to Turn Pages to Landscape Orientation
Landscape Page Overview
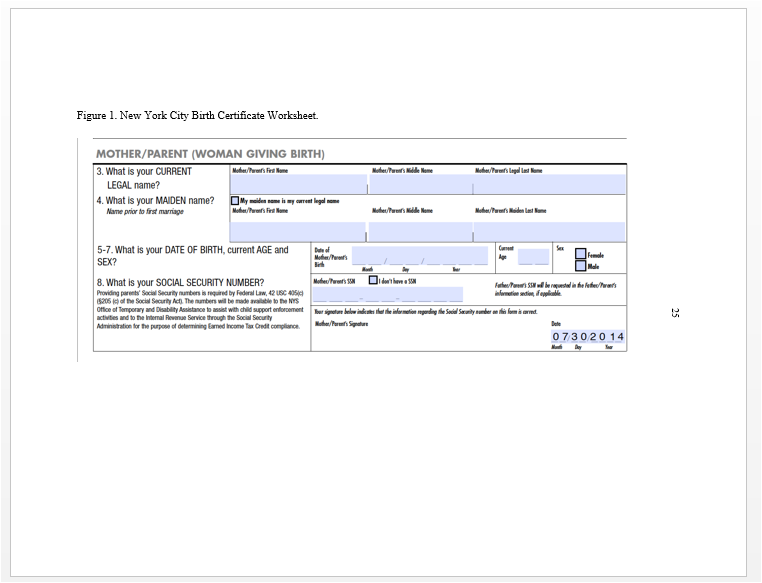
If you have a wide graph or image that does not quite fit on a regular portrait oriented page, you can use a landscape page.
Landscape page margins:
- If all of your margins are 1" on a portrait page, then they can stay the same as a landscape page.
- If your left margin is 1.5" on a portrait page, then the landscape page should have a top margin of 1.5", and a left, right, and bottom margin of 1."
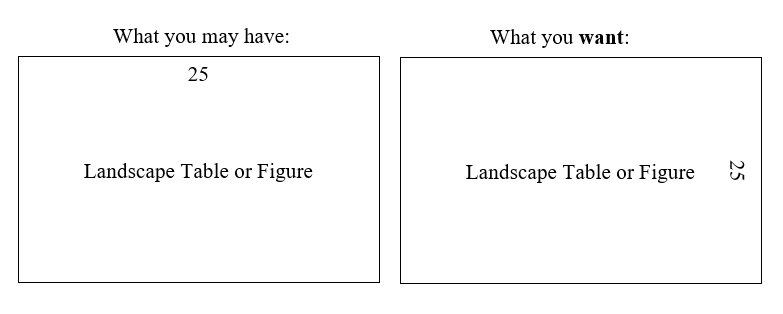
The page number should be on the right side of all landscape pages.
This way, if the page is printed out and flipped vertically, the margins and page number will match the rest of the document.
Tutorial Video
Here is a Landscape Page tutorial video to help get you started. The process might also vary depending on what kind of computer you have, what version of Word you are using, etc.
Insert a Landscape Page
- Place your cursor at the end of the last portrait page you want to keep in the portrait orientation.
- Insert a page break by going to the Layout tab > Page Setup section of the ribbon > Breaks > "Next Page". Do this twice so you have one blank page to turn to landscape orientation.
- While your cursor is somewhere on your blank page, select Layout tab > Page Setup section of the ribbon > Orientation > Landscape Orientation. Confirm that only that one page turned to landscape orientation and the next page goes back to portrait orientation.
- Set the margins to match your portrait page, if it were flipped clockwise.
- If all of your margins are 1" on a portrait page, then they can stay the same as a landscape page.
- If your left margin is 1.5" on a portrait page, then the landscape page should have a top margin of 1.5", and a left, right, and bottom margin of 1".

Rotate to Landscape Page Number
Page numbers on landscape pages should be rotated to the right.
Instructions for Windows
- First, ensure the page numbers for your portrait oriented pages stay the same.
- Double click the page number in the header area of the portrait page after your landscape page to select its page number.
- In the Header & Footer tab > Navigation section > Click "Link to Previous" to turn this option off.
- In the Header & Footer tab > Header & Footer section > Page Number > Format Page Numbers > Select "Continue from previous section".
- Next, change the position of your page numbers on your landscape page:
- Double click the page number in the header area of the landscape page to select its page number.
- In the Header & Footer tab > Navigation section > Click "Link to Previous" to turn this option off.
- Delete the page number entirely by going to Header & Footer tab > Header & Footer section > Page Number > Remove Page Numbers. This is an important step for the top margin to correctly display at 1".
- Then, go to Header & Footer tab > Header & Footer section > Page Number > Page Margins > Vertical, Right.
- In the Header & Footer tab > Header & Footer section > Page Number > Format Page Numbers > Select "Continue from previous section".

-
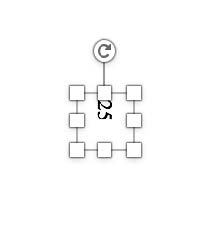
- The number will look like this:

-
- While you have the page number selected: Go to Shape Format tab > Text section > Text Direction > Select "Rotate all text 90 degrees".
- Align the text to center within the text box and match the font size and type. Hob tab > Font section > Select appropriate font type and font size. Home tab > Paragraph section > Align text to center.
- Delete the word "page" in fron of the page number.
- Extend the text box so it goes from top to bottom margins.
- Drag the text box slightly to the left. You should see bright green lines appear to help you orient the text box; you will want to click and drag until you see both a vertical and horizontal line. The text box should go to the left/"under" the green lines that appear at the 1" margin.
- Double check that your page numbers on the next portrait orientation page were not affected.

Instructions for Mac
Double-click in the header and turn off "Link to Previous."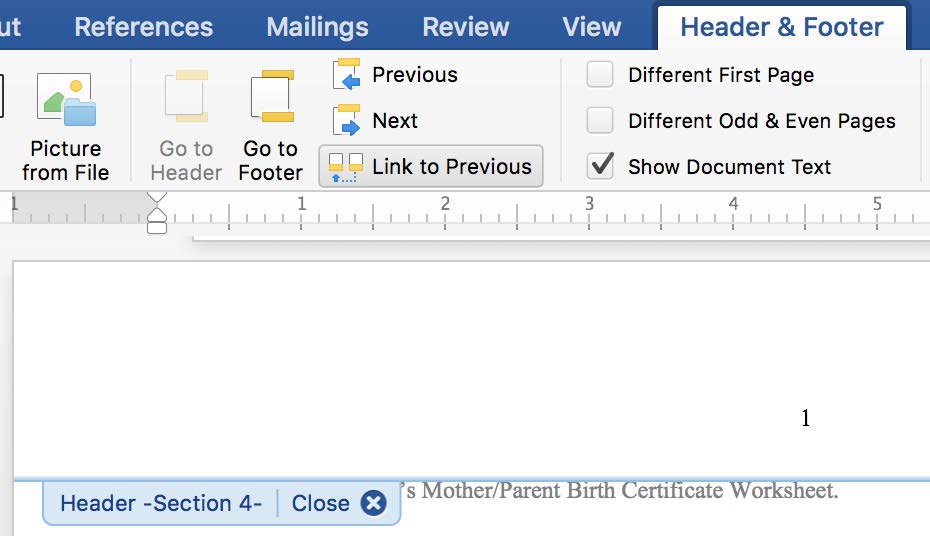
- Repeat for the portrait page following landscape page so you don't change its page number.
- Delete page number from landscape page.
- In the "Insert" toolbar, choose Text Box > Vertical Text Box
- Hold shift when you draw to create a square box. You will need about .38" to fit the
number.
- Type in your page number and ensure the font matches your main text. Note that the page numbers won't automatically update for landscape pages if your page number changes.
- In the Shape Format toolbox, choose Arrange > Position.
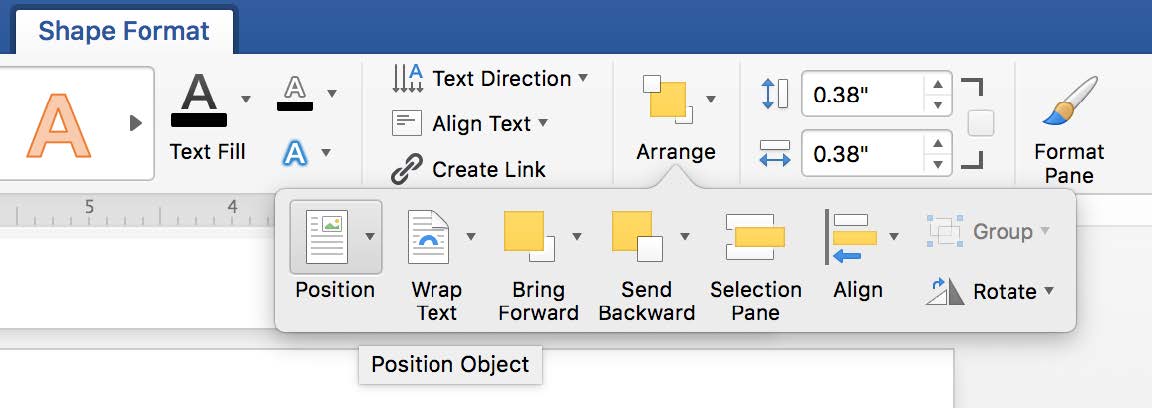
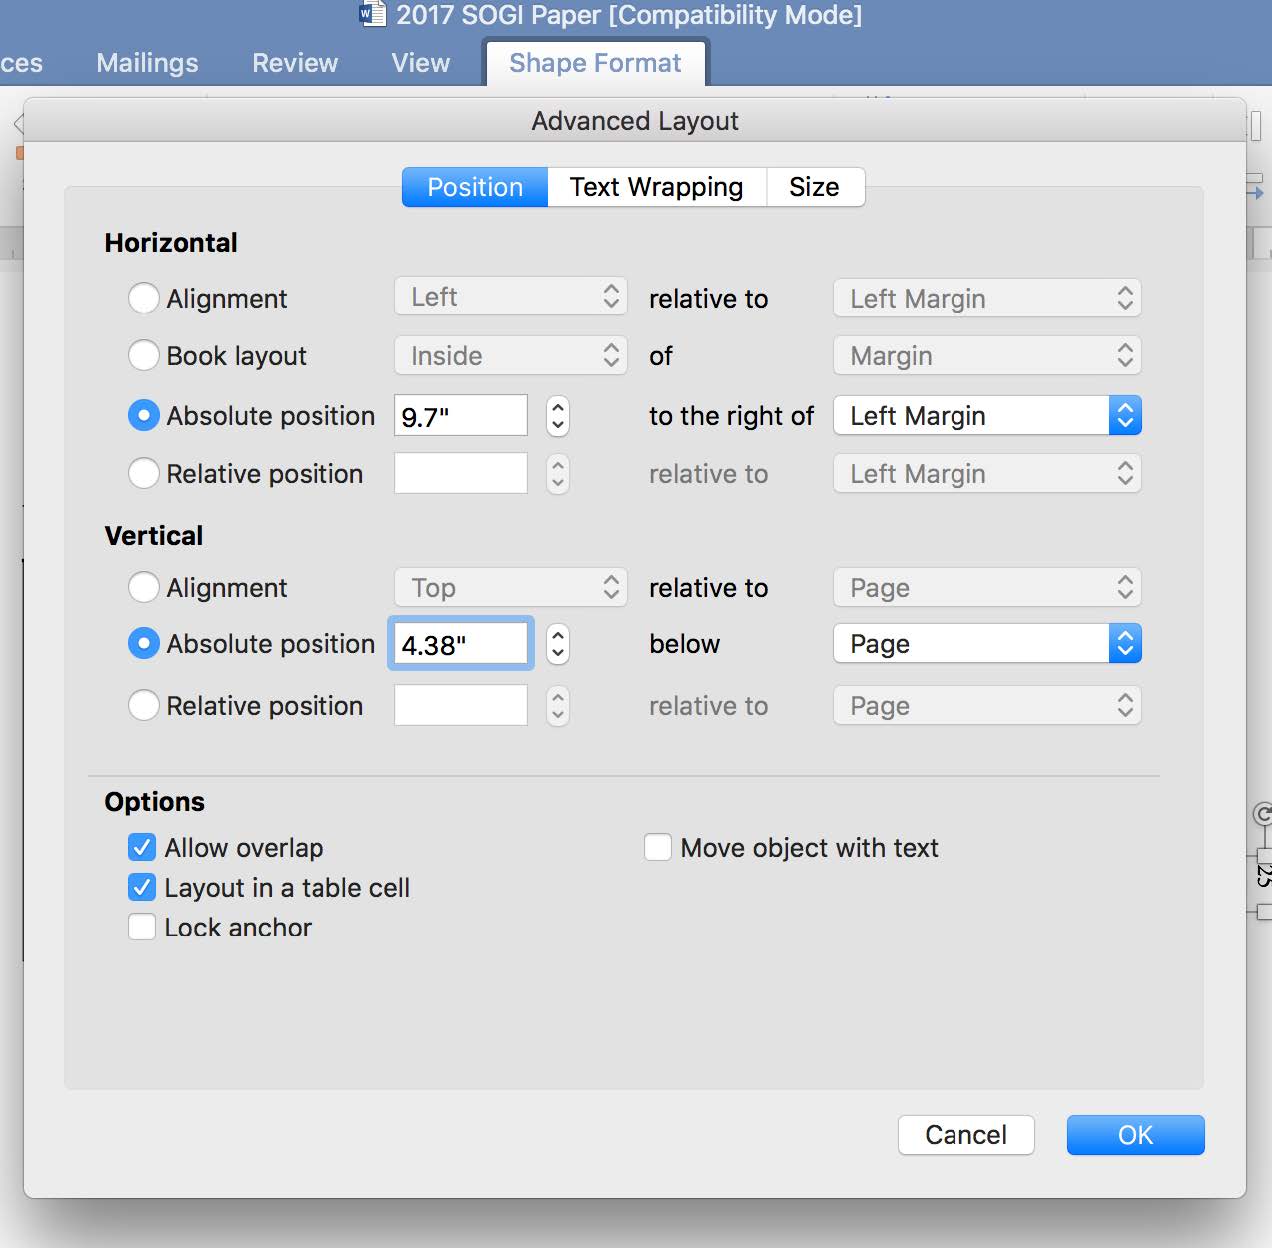
- Select "More Layout Options" and input the exact position for the text box. Note that
these positions may need to be adjusted depending on margins (these instructions are
for a 1.5" margin on the top of a landscape page); and the size of your text boxes,
which can also be adjusted.
- Repeat for all landscape pages!
Return to Portrait Orientation Pages
- To go back to portrait orientation pages, insert a new page and create another "Next Page" Section Break.
Other Resources
If you need more assistance, check out these other helpful websites: