How to Format Tables that Span Multiple Pages
If your table runs onto more than one page, include a heading (e.g. Table [#] Continued) at the top of the second page.
There are a few different ways to accomplish this.
Option One: Insert Rows Above
- Click in one of the cells of your topmost row on your table’s second page and choose "Insert Rows Above."
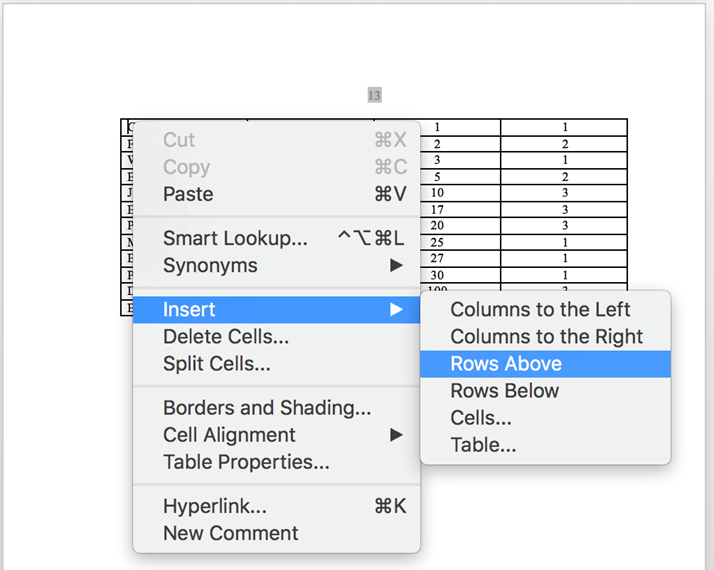
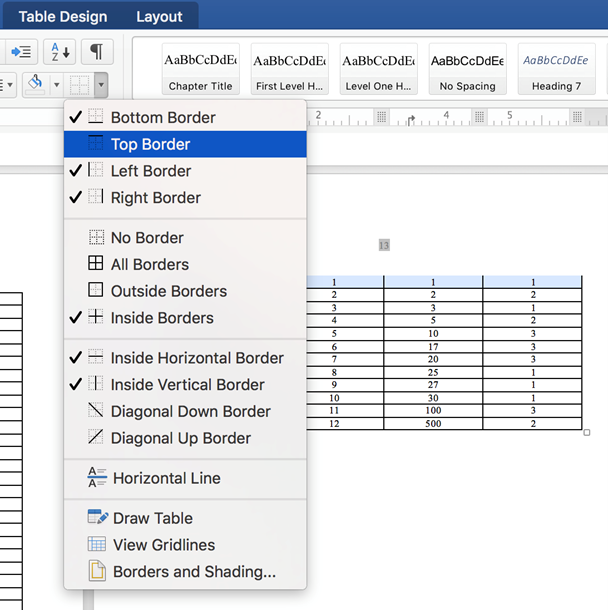
- Highlight the cells in this new column and select "No Border."

- Highlight the cells in your original topmost row and reselect "Top Border."
- Type your table’s caption with the word "Continued" above the topmost bordered row.
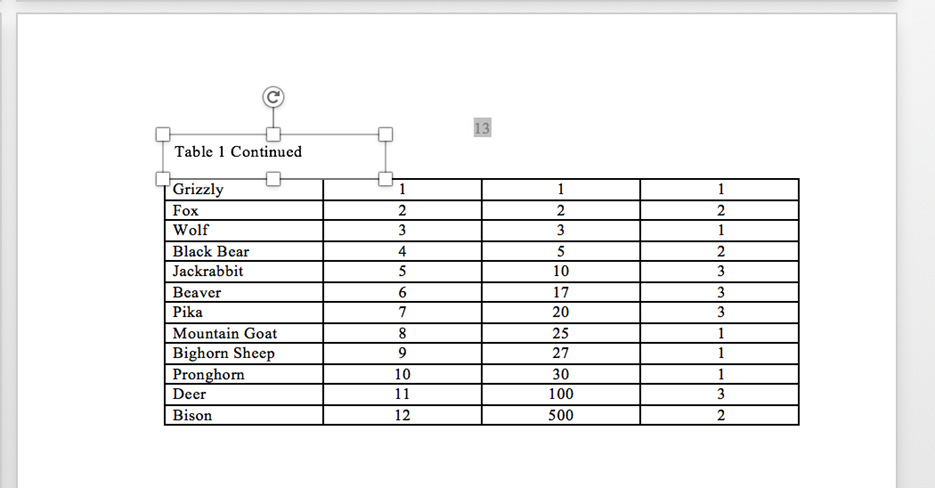
Option Two: Add a Text Box
- Click below your table and select "Insert" > "Text Box" > "Draw Text Box."
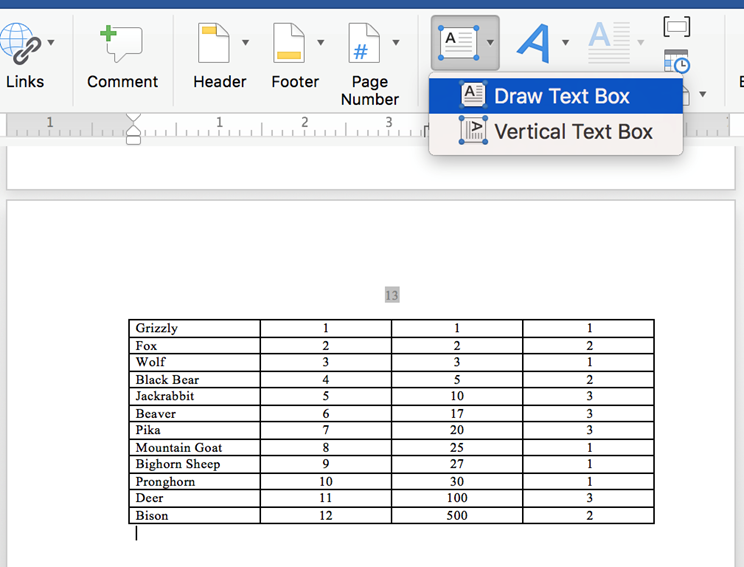
- Type "Table [x] Continued" into the box. Ensure your font size and style remain the same as your main text and remove any border from your text box.
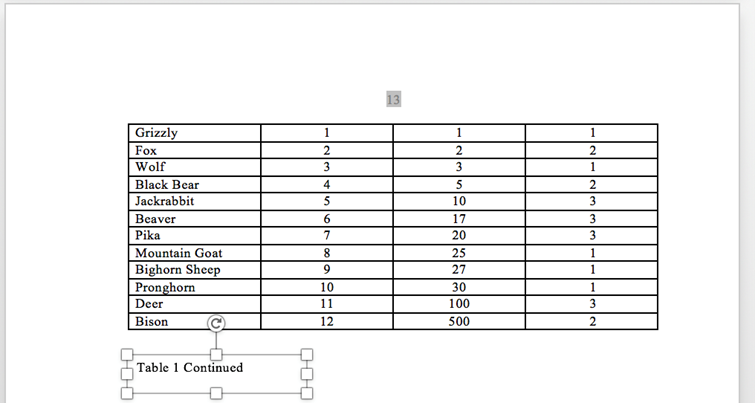
- Move the box above your table, which should push the table down.
Option Three: Use Separate Tables
- Insert two separate tables on your two pages.

- Type "Table [x] Continued." above the table on the second page.