
Ask Steward: How do I repot a houseplant?

Photo: Sarah Eilers, MSU Extension
Houseplants can reduce stress and improve air quality. They deliver big benefits in return for a little water and sunshine, but may require a bigger pot for roots as they grow.
There are a few signs that a plant needs a new home:
- Roots are growing out of the bottom of the pot.
- The plant is rootbound, roots are dense and tangled, without room for more growth.
- The plant is top-heavy and wants to tip over.
- It requires water too frequently.
- There is salt/mineral buildup on soil and/or the pot.
- The plant is sickly and not growing well.
- Lower leaves are yellowing and falling off.
Repotting a plant is made easier by following a few common suggestions. Plan ahead for easy cleanup. Work in an area covered with an old sheet, a large trash bag, or a potting tray.
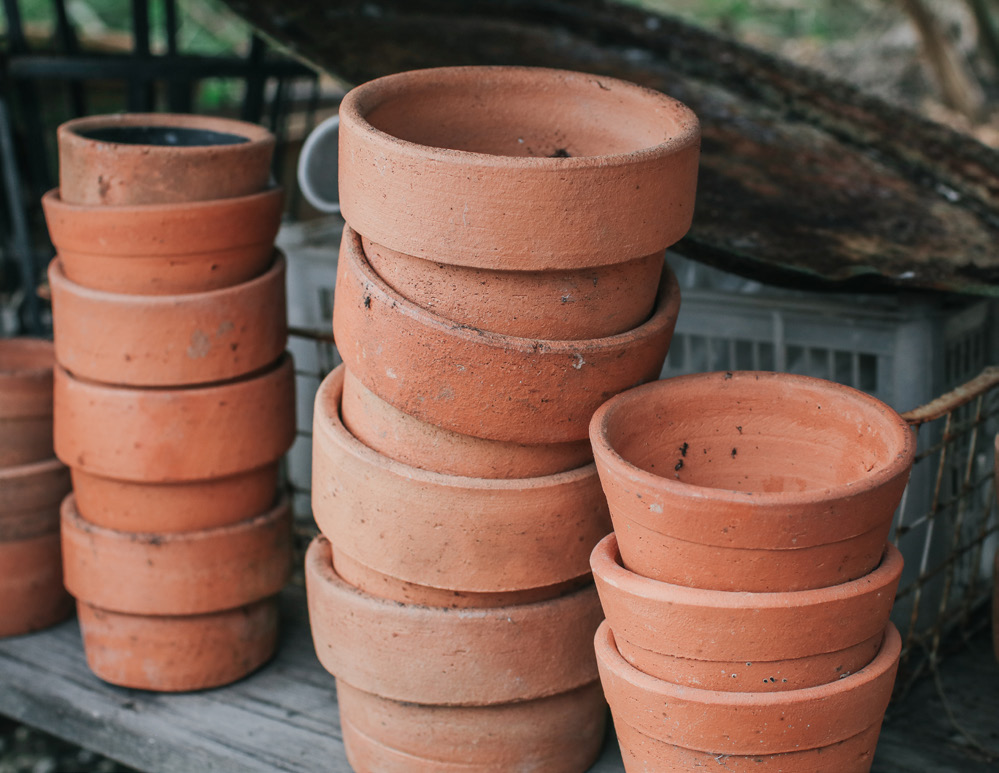
Photo: Adobe Stock
Select a new pot that isn’t too large: about 1/3 wider and deeper than the previous pot is a good rule of thumb. Pots can be reused if they are clean and sterile. Avoid transmitting pests or diseases by soaking a reused pot in a 10 percent bleach/water solution and then rinsing.
Different pot materials are available, and the best choice depends on a few factors:
- Plastic is lightweight and usually less expensive.
- Ceramic is heavier, which may be a good option for a taller plant prone to tipping.
- Terracotta is traditional and unglazed (porous), will show mineral/salt buildup sooner, and will wick some moisture from the soil.
- Metal containers may need drainage holes drilled or punched in the bottom.
Drainage is very important, so make sure there are adequate holes. Consider using a waterproof drainage tray underneath to collect water and protect furniture. An unglazed terracotta pot or tray will wick moisture to the surface it sits on and may cause damage.
The optimal time of year to transplant is late winter/early spring as less daylight makes houseplants somewhat dormant. However, if a plant is showing signs of stress as listed above, repot it anytime.
There are a few soil options for repotting. Premixed potting soil is available and made from different media for different plants. Cacti, orchids, and succulents have special soil requirements. You can make your own soil mix to save money if repotting many plants or to tailor soil to the plant. Lastly, you can reuse old soil. Check that soil is free from salt/mineral buildup and pests or disease, then add at least 50 percent new soil to refurbish the old.
Keep the newly repotted plant in indirect light for a few days to reduce transplant shock. It is normal to see the yellowing of leaves or leaf drop after repotting. Do not fertilize for at least two weeks to allow roots to regenerate.
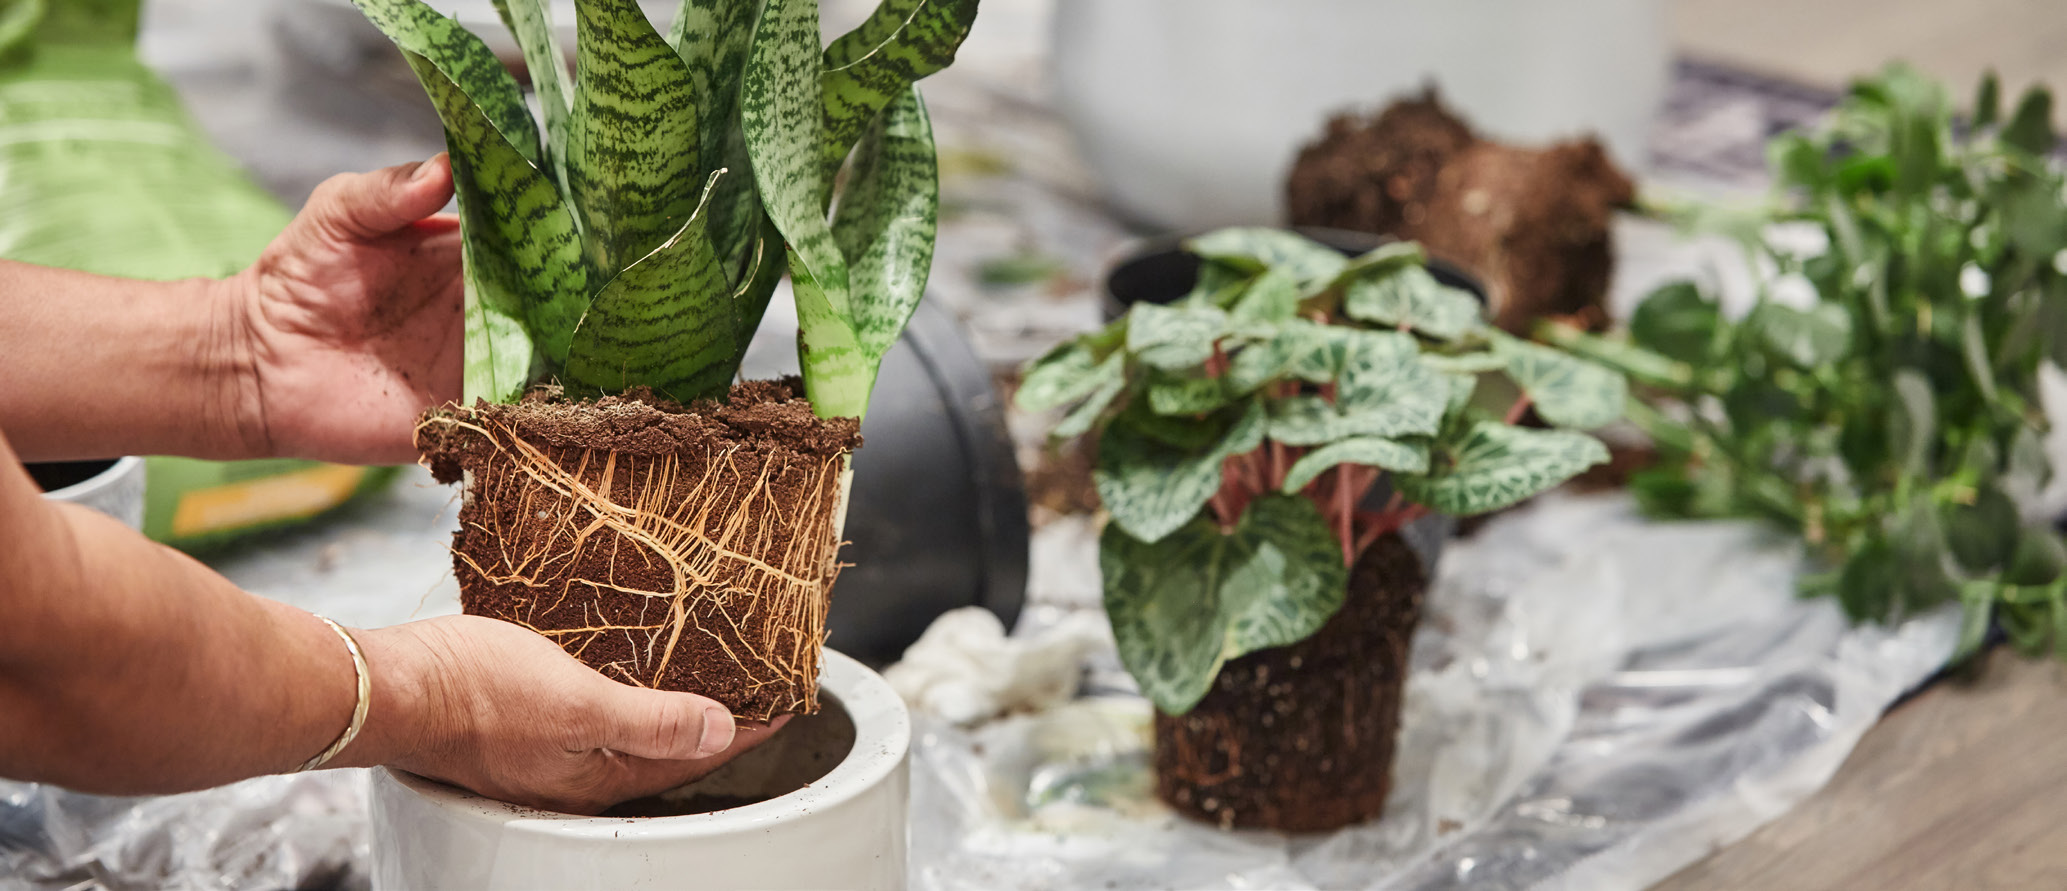
Photo: Adobe Stock
|
Jennifer Weiss is an Adjunct Professor of Horticulture at Montana State University.