
TOPAZ Animal Order User Guide
Animal Orders
You can submit an animal order in Topaz for any approved protocol. Animal orders can be scheduled for a single delivery or a standing order. The following tutorials explain how to create an order and schedule delivery.
How To Order Animals
Step 1: Go to the Topaz login page
- Chrome or Safari are the recommended browsers.
- User experience is greatly influenced by the browser in
- Bookmark this page for easy access
- Login with your MSU Net ID and
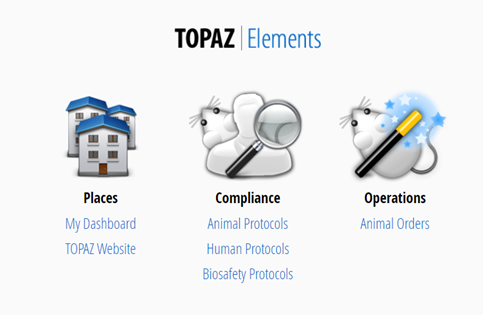
Step 2: Under Operations click on Animal Orders.
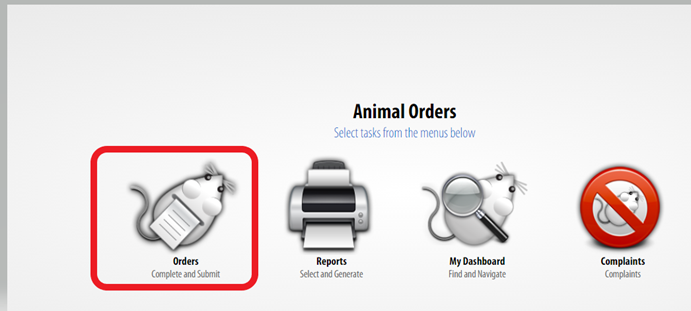
Step 3: Hover (with your cursor) over Orders and a menu will appear. Select Create New Order – The screen will refresh and a Select Form window will be displayed.
Step 4: Select Animal Order Form:
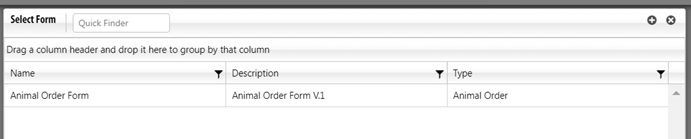
The menu will close, and the screen will display the animal order screen with an Outline of the sections and corresponding questions.
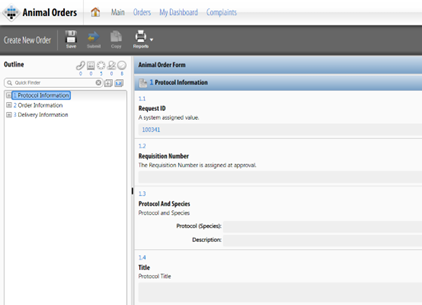
Step 5: Complete the questions in each section. Click on the Next button to advance to the next section.
- Section 1: Protocol Information – Under Protocol and Species click the
 icon to select a protocol. A new Select Protocol/Species window will open. Select
the desired protocol from the list. The window will close. Click the Save button. You must select a protocol and save it for the remainder of the form to populate. Click the Next
icon to select a protocol. A new Select Protocol/Species window will open. Select
the desired protocol from the list. The window will close. Click the Save button. You must select a protocol and save it for the remainder of the form to populate. Click the Next  button.
 - Section 2: Order Information– Under Vendor click the icon. A Select Vendor window will open. Click on the appropriate vendor. The window
will close. Click the Next button.
- Section3:DeliveryInformation:
- In the top right corner select the truck icon.

- A new Schedule Deliveries window will open. To select a date, click on the date in
the calendar. Dates marked in red are blackout dates upon which deliveries cannot
be scheduled. Delivery date must be a minimum of 7 days from order date. NOTE: The actual delivery date will be confirmed when the order is placed with the vendor. When you have made your date selection, click the OK button.
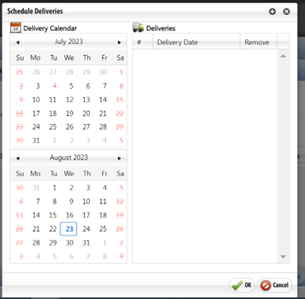
- The window will close and the new delivery date will be added to the Delivery Schedule.
– Click the
 icon (to the left of the Delivery Date) to enter the delivery details. The question
section of the screen will refresh.
icon (to the left of the Delivery Date) to enter the delivery details. The question
section of the screen will refresh. 
- Enter the number of animals you would like to order. Select the icon to chose the Strain/Stock/Breed. Save the order. Complete the rest of the form.
Please note, all questions marked with a red * are required.
- Select the icon to choose the Per Diem Account and Bill To Account. These are required for submission
of the order. Save the order.
- In the top right corner select the truck icon.
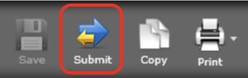
Step 6: You have completed the order. Click the Submit button.
Step 7: An E-signature Information window will appear. Enter your Net IDand Password. The form will be checked for errors. If any required items have not been completed,
you will not be able to submit the order. An error message will indicate the required
questions that have not been answered. The ![]() button in the Outline will navigate to all required questions.
button in the Outline will navigate to all required questions.