Z PPP Counterbalance T-Stand
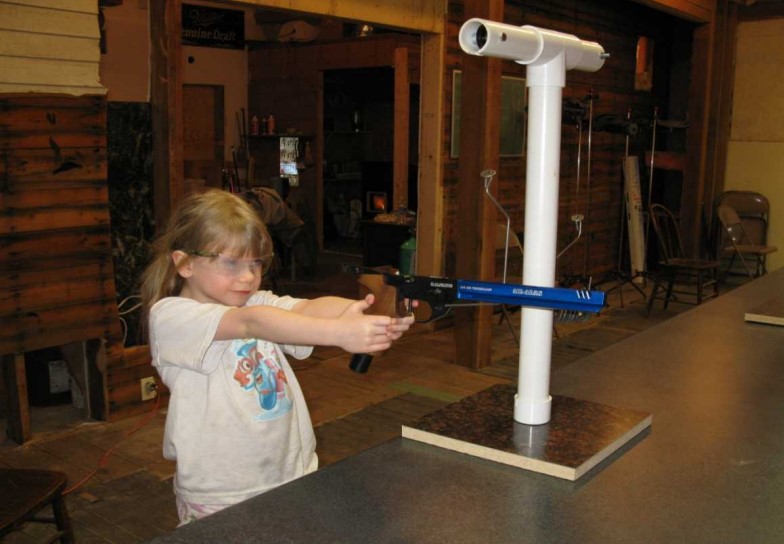
For a long time now the coaches at USA Shooting have recognized the need to get youth
involved in
competitive shooting at a younger age. One of the problems is most airguns are just
too heavy for smaller
shooters. By reducing the felt weight of the pistol, smaller shooters can safely handle
the airguns much
sooner.
Outlined are the instructions for two designs of inexpensive, easy to build PVC based
support slings. The
pulley and counterweight system allows the coach to reduce the perceived weight of
the airgun by any
amount they wish. All the parts except the pulleys were purchased from local stores.
Material List
12” x 12” wood base
1 ½“ PVC cap
1 ½” x 1 ½” x 1 ½” PVC sch. 40 tee
48” of 1 ½” PVC pipe
(2) 1 ½“ x 1/4 “ bore pulleys
(2) ¼“ x 2 ¼” bolts/nuts
(20+) ¼“ washers
(2) 1/8 “x 3/4“ fender washers
3’ of 1/8“ steel rod
10lb. braided fishing line
¾“ washers or suitable material for counterweight
Additional supplies Required for Adjustable Model
24” of 2” PVC pipe
2 ½ “hose clamp
2”PVC cap or 6” x6” drain trap
2” PVC connector
The PVC fittings fit tight enough to preclude the use of glue.
Assembly Instructions
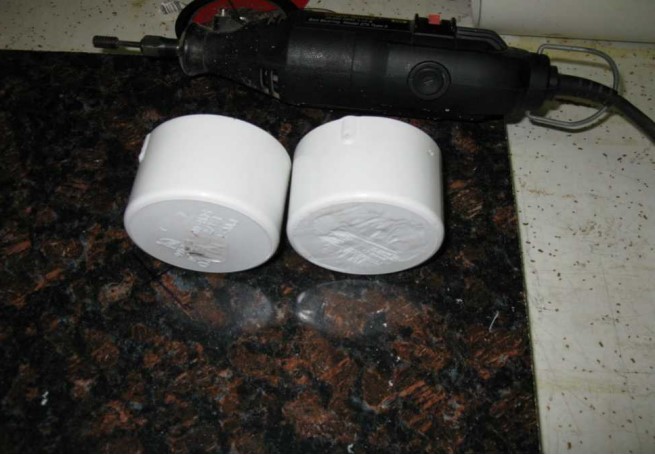
Start the project by grinding the top of the 1 ½“ cap flat so it lays level on the
base board. Then screw the
cap down to the board.
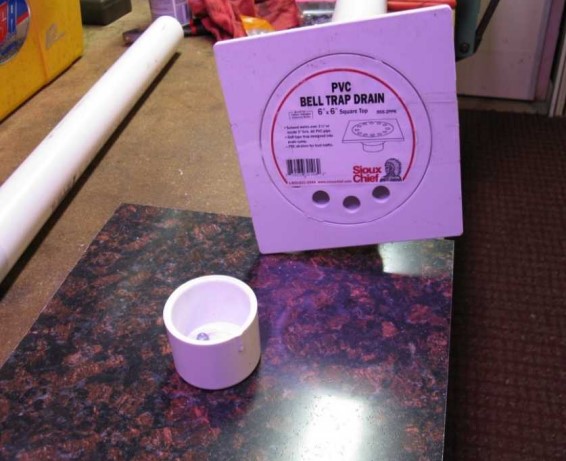
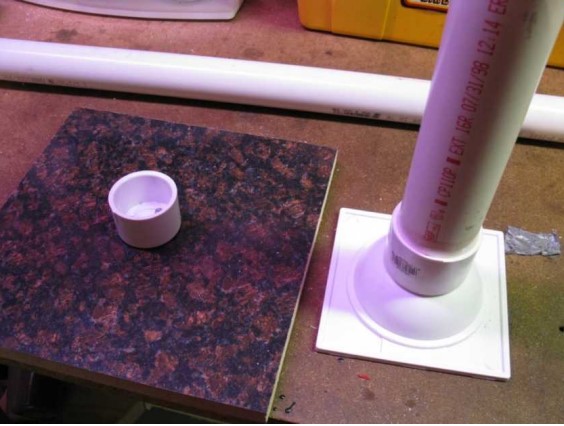
It may be easier to purchase a bell drain trap and coupling and attach these to the vertical pipe.
The length of the vertical pipe will depend on the height of your table and the height
of your shooter. For a
table that is 36” high a good length to start with would be 36” and shorten it from
there if needed. The
recommended lengths for the adjustable model is 24“ for both the 2“ and the 1 ½“ pipes.
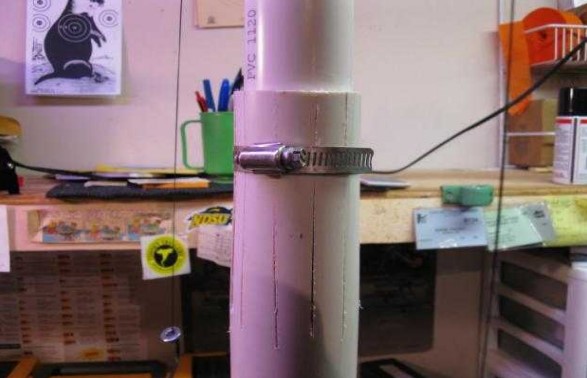
To make the 2”pipe: Hold the slip fit 1 ½“ Make several cuts 4“ long down one end.
Enough material (kerf)
must be removed so when the clamp is tightened the inner pipe is held tight.
The cross arms are made of 1 ½” pipe 4” long on the weight side and 6” long on the
shooter side. This offset
gives the shooter room to move the gun and reduces the intrusion into the next firing
point. Plastic pulleys may be purchsed online. Do not skimp on the pulleys. They must
roll smoothly or the shooter will not be able to hold the pistol in their normal area
of hold. Good quality ones can be had for less than $3.00 each. Drill the axle hole
back from the end of the cross arm the radius of the pulley plus 3/8“. Keep the pulley
centered by shimming the ¼“ axle bolt with ¼“ washers.
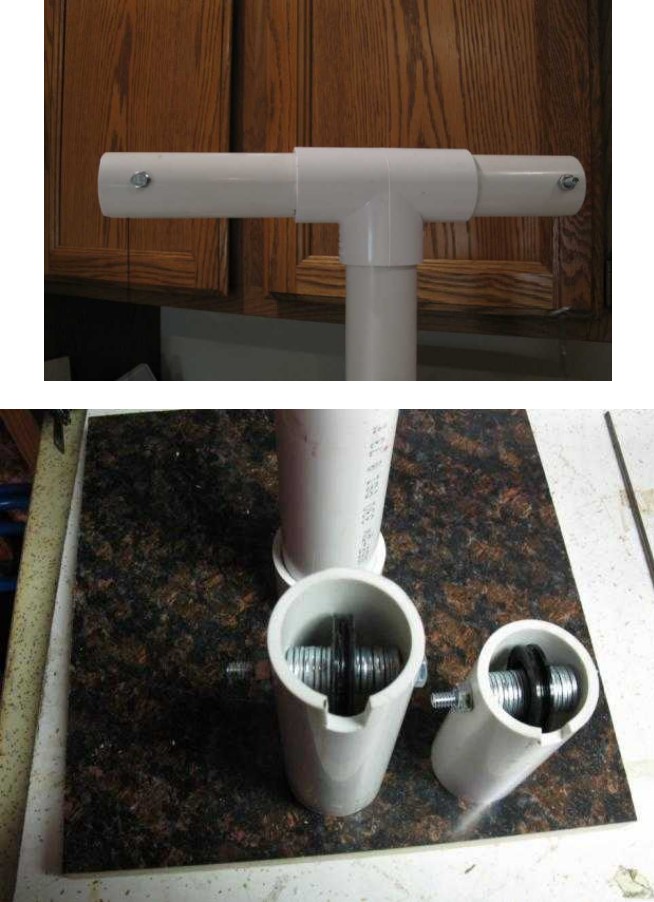
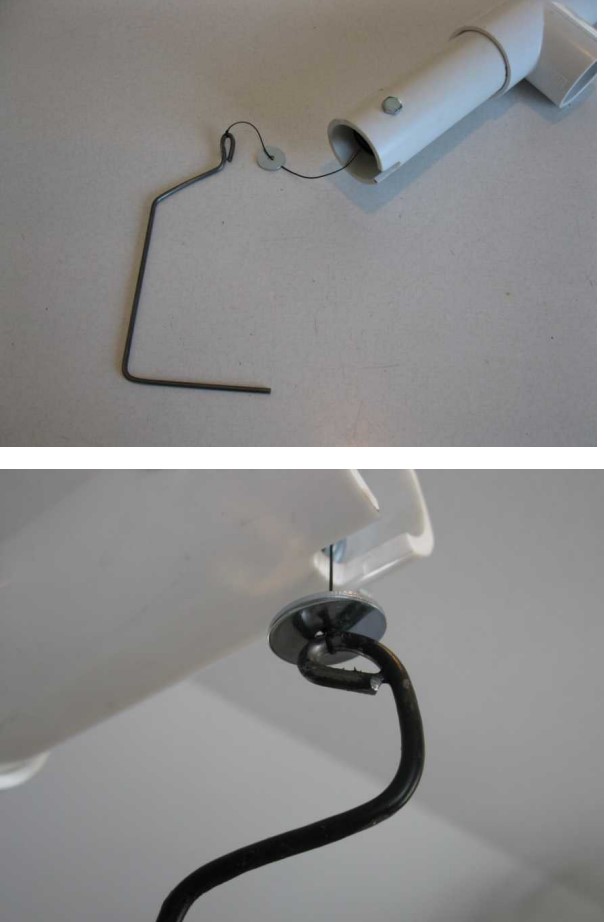
Cut a notch no more than ¼“ wide and ½“ in for the line to run through. This will
be used to trap the fender
washer and keep the pistol hook from being pulled into the pulley, derailing the line.
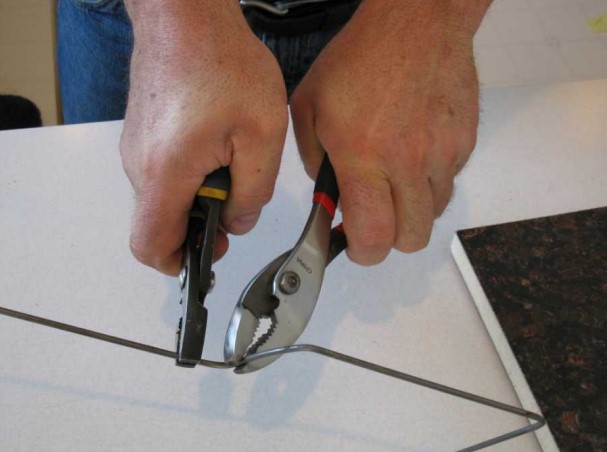
Next, build the pistol hook and the weight bracket. The 1/8“ steel rod is heavy enough
to work
well and can be formed by using two pair of pliers.
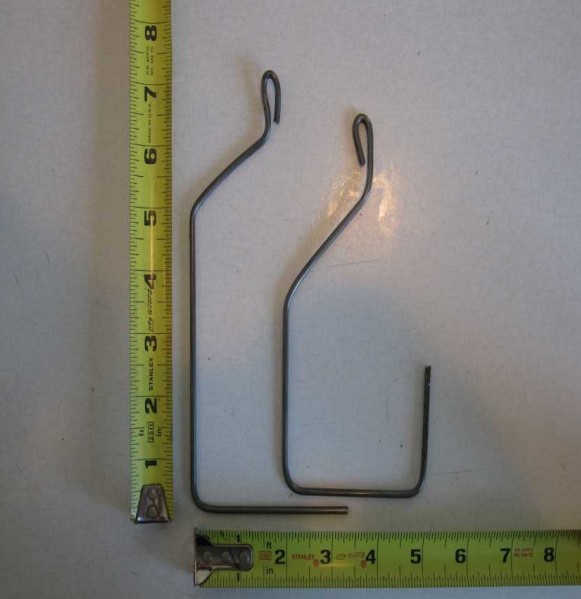
The sizes shown in the picture work well but are by no means mandatory. It is recommended
that you do not
put an up turned “hook” on the horizontal bar that the pistol rests on. It serves
no real purpose and snags the
gun if the shooter does not lift the gun all the way up.
Cover the bare metal with something to keep the gun from getting scratched and slipping off the bar. Plastisol base tool dip, duct tape, electrical tape, or a small rubber hose slipped over the metal will work.
Run the string through the pulleys and thread through the fender washer. Leaving the
washer free, tie the
string to the pistol hook.
Repeat the process for the other side, making the string long enough so that when
the weight is just
touching the base the pistol hook is just touching the cross arm.
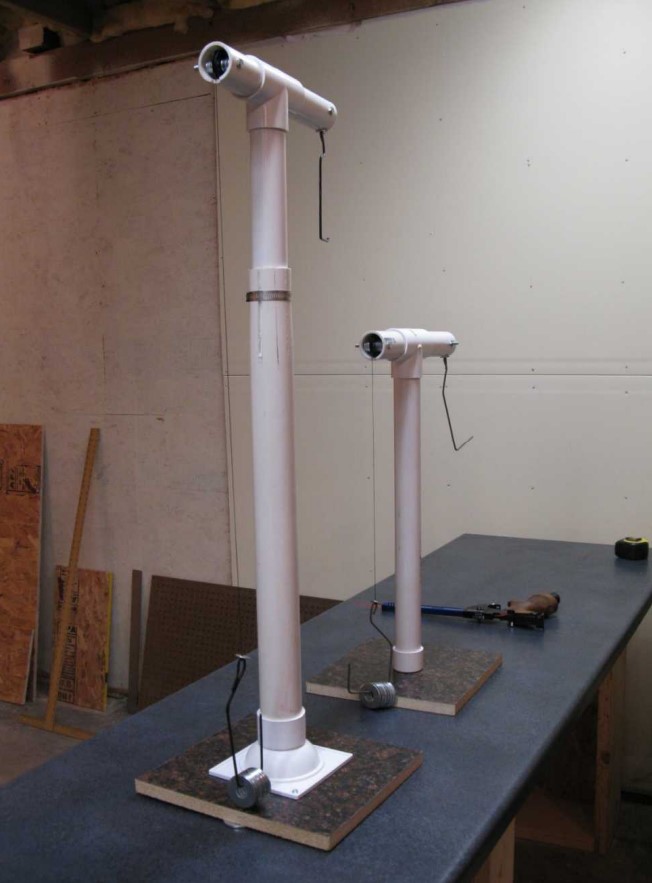
There you have it: two very simple pistol slings that are inexpensive and easy to
build. To adjust the amount of
lift on the pistol simply add or remove washers to the counter balance. You will notice
the weights swaying
when held in suspension by the pistol. This movement can not be felt by the shooter.
Feel free to modify, improve, and customize these slings to suit your needs.

