
3D Scanning
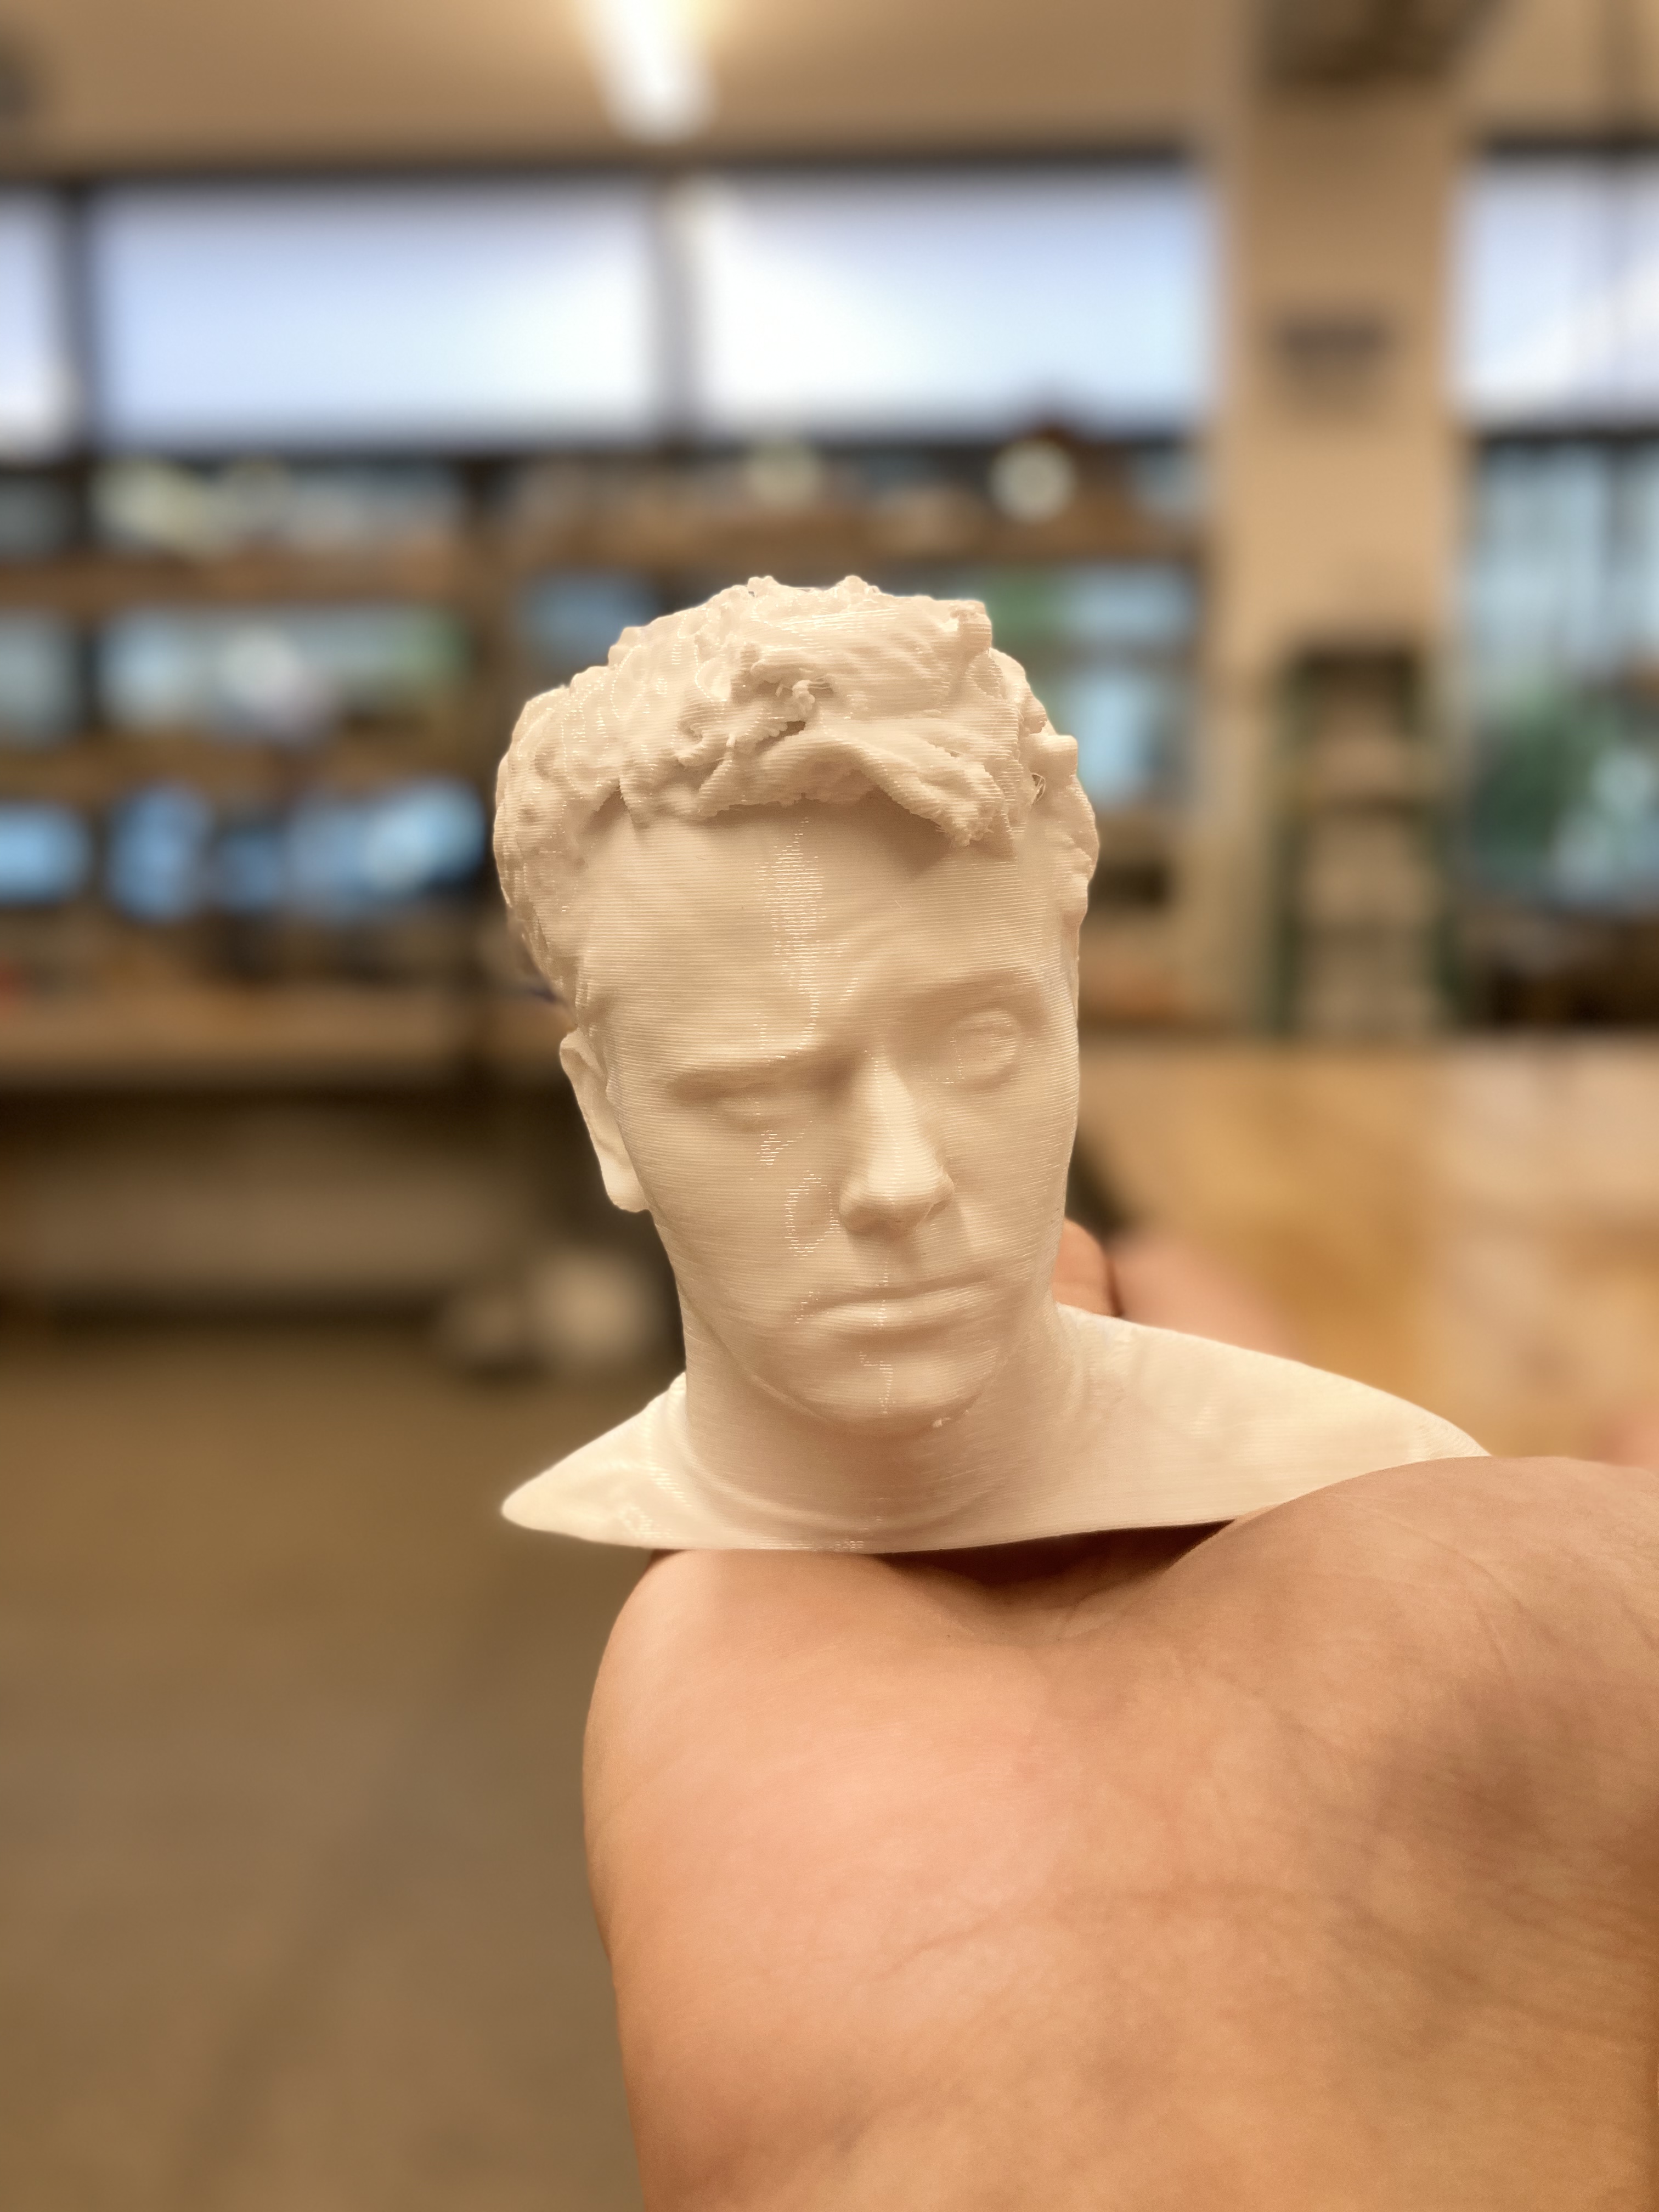
A Revopoint Range 3D scanner is availble for use for users who have been trained. There is also a large turntable for scanning objects (and people!) up to 200kg (440lbs).
The files generated by the scanner are very large!
- Download the RevoScan5 software on your computer or phone
- Ensure you have enough available storage on your device to store the raw data or define a path to an external drive
- Connect the scanner to the tripod holder or battery mount.
- If you are using your phone, connect the appropriate cables and power pack.
- If you are using the turntable, set up and plug in the turntable. Turn it on using the red switch. It can be controlled using the small remote found in the turntable's box.
- Press the "Play" button on the scanner. The light on the back should turn from red to green.
- Open up the WiFi settings on your device and connect to the RevoPoint Range's WiFi.
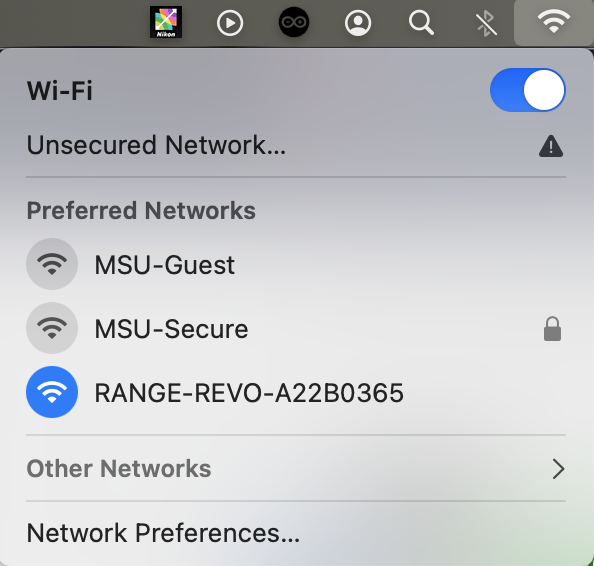
- The RevoScan software should indicate that the scanner is now connected.
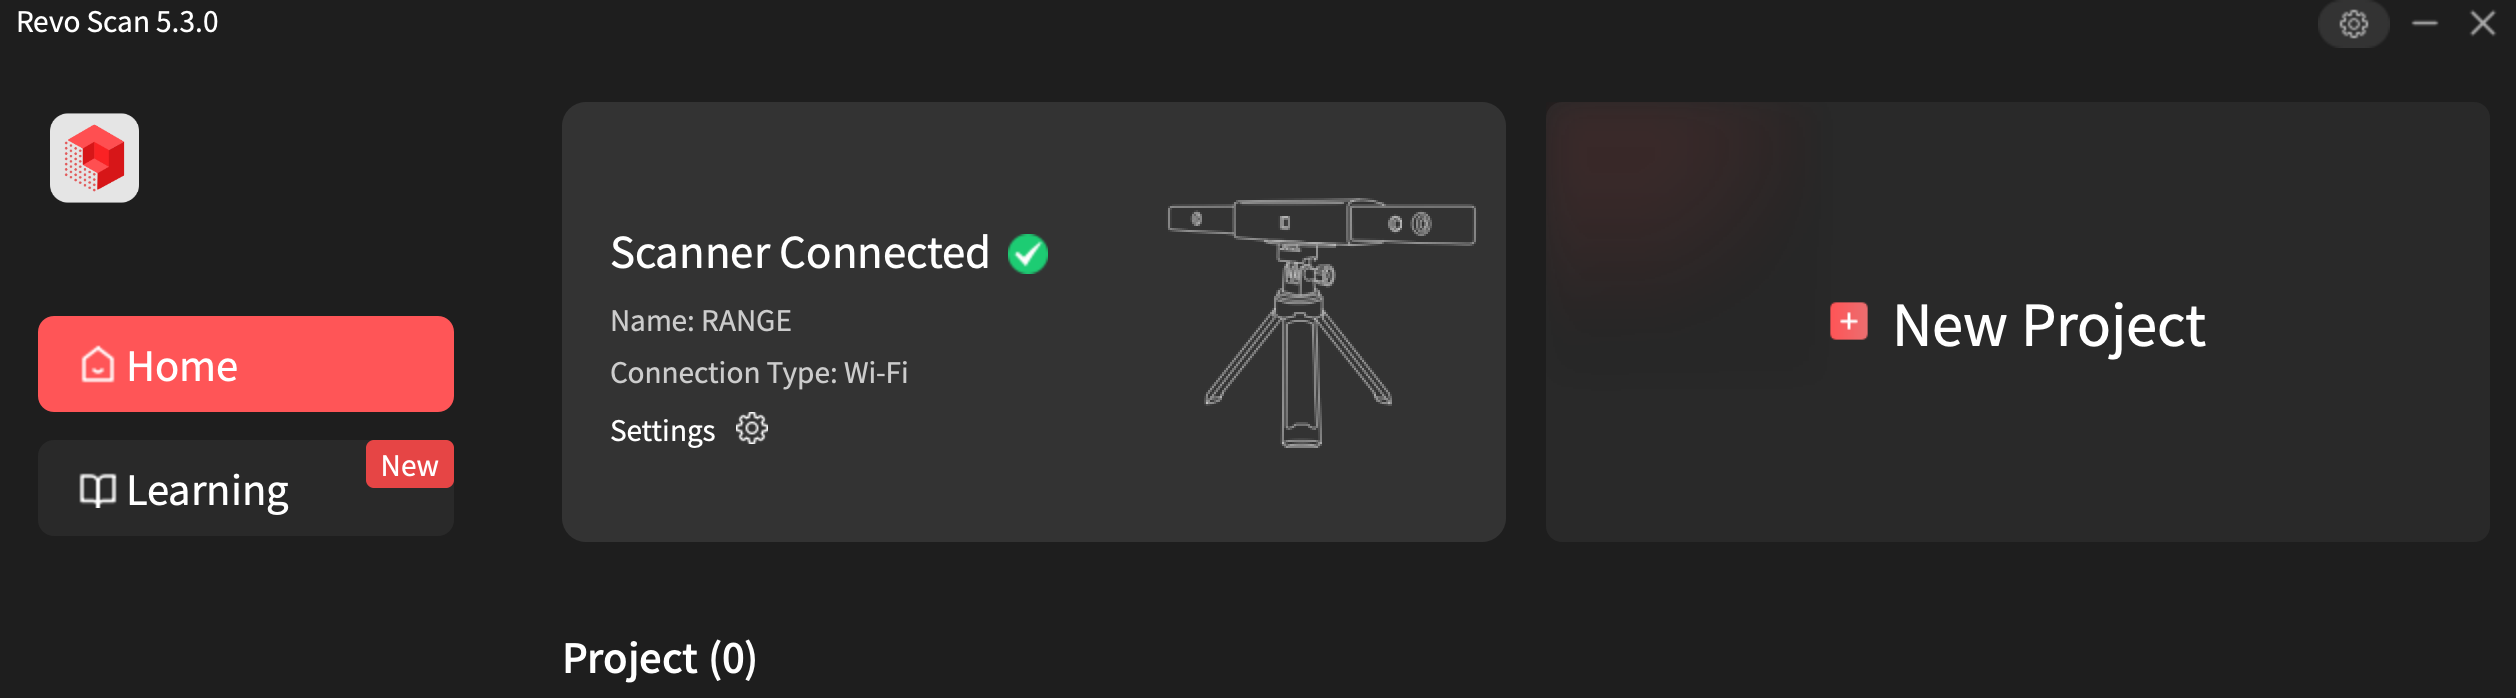
In RevoScan5
- Click on the scanner that is connected
- Click New Project (+ Button)
- Click Start (Play Button)
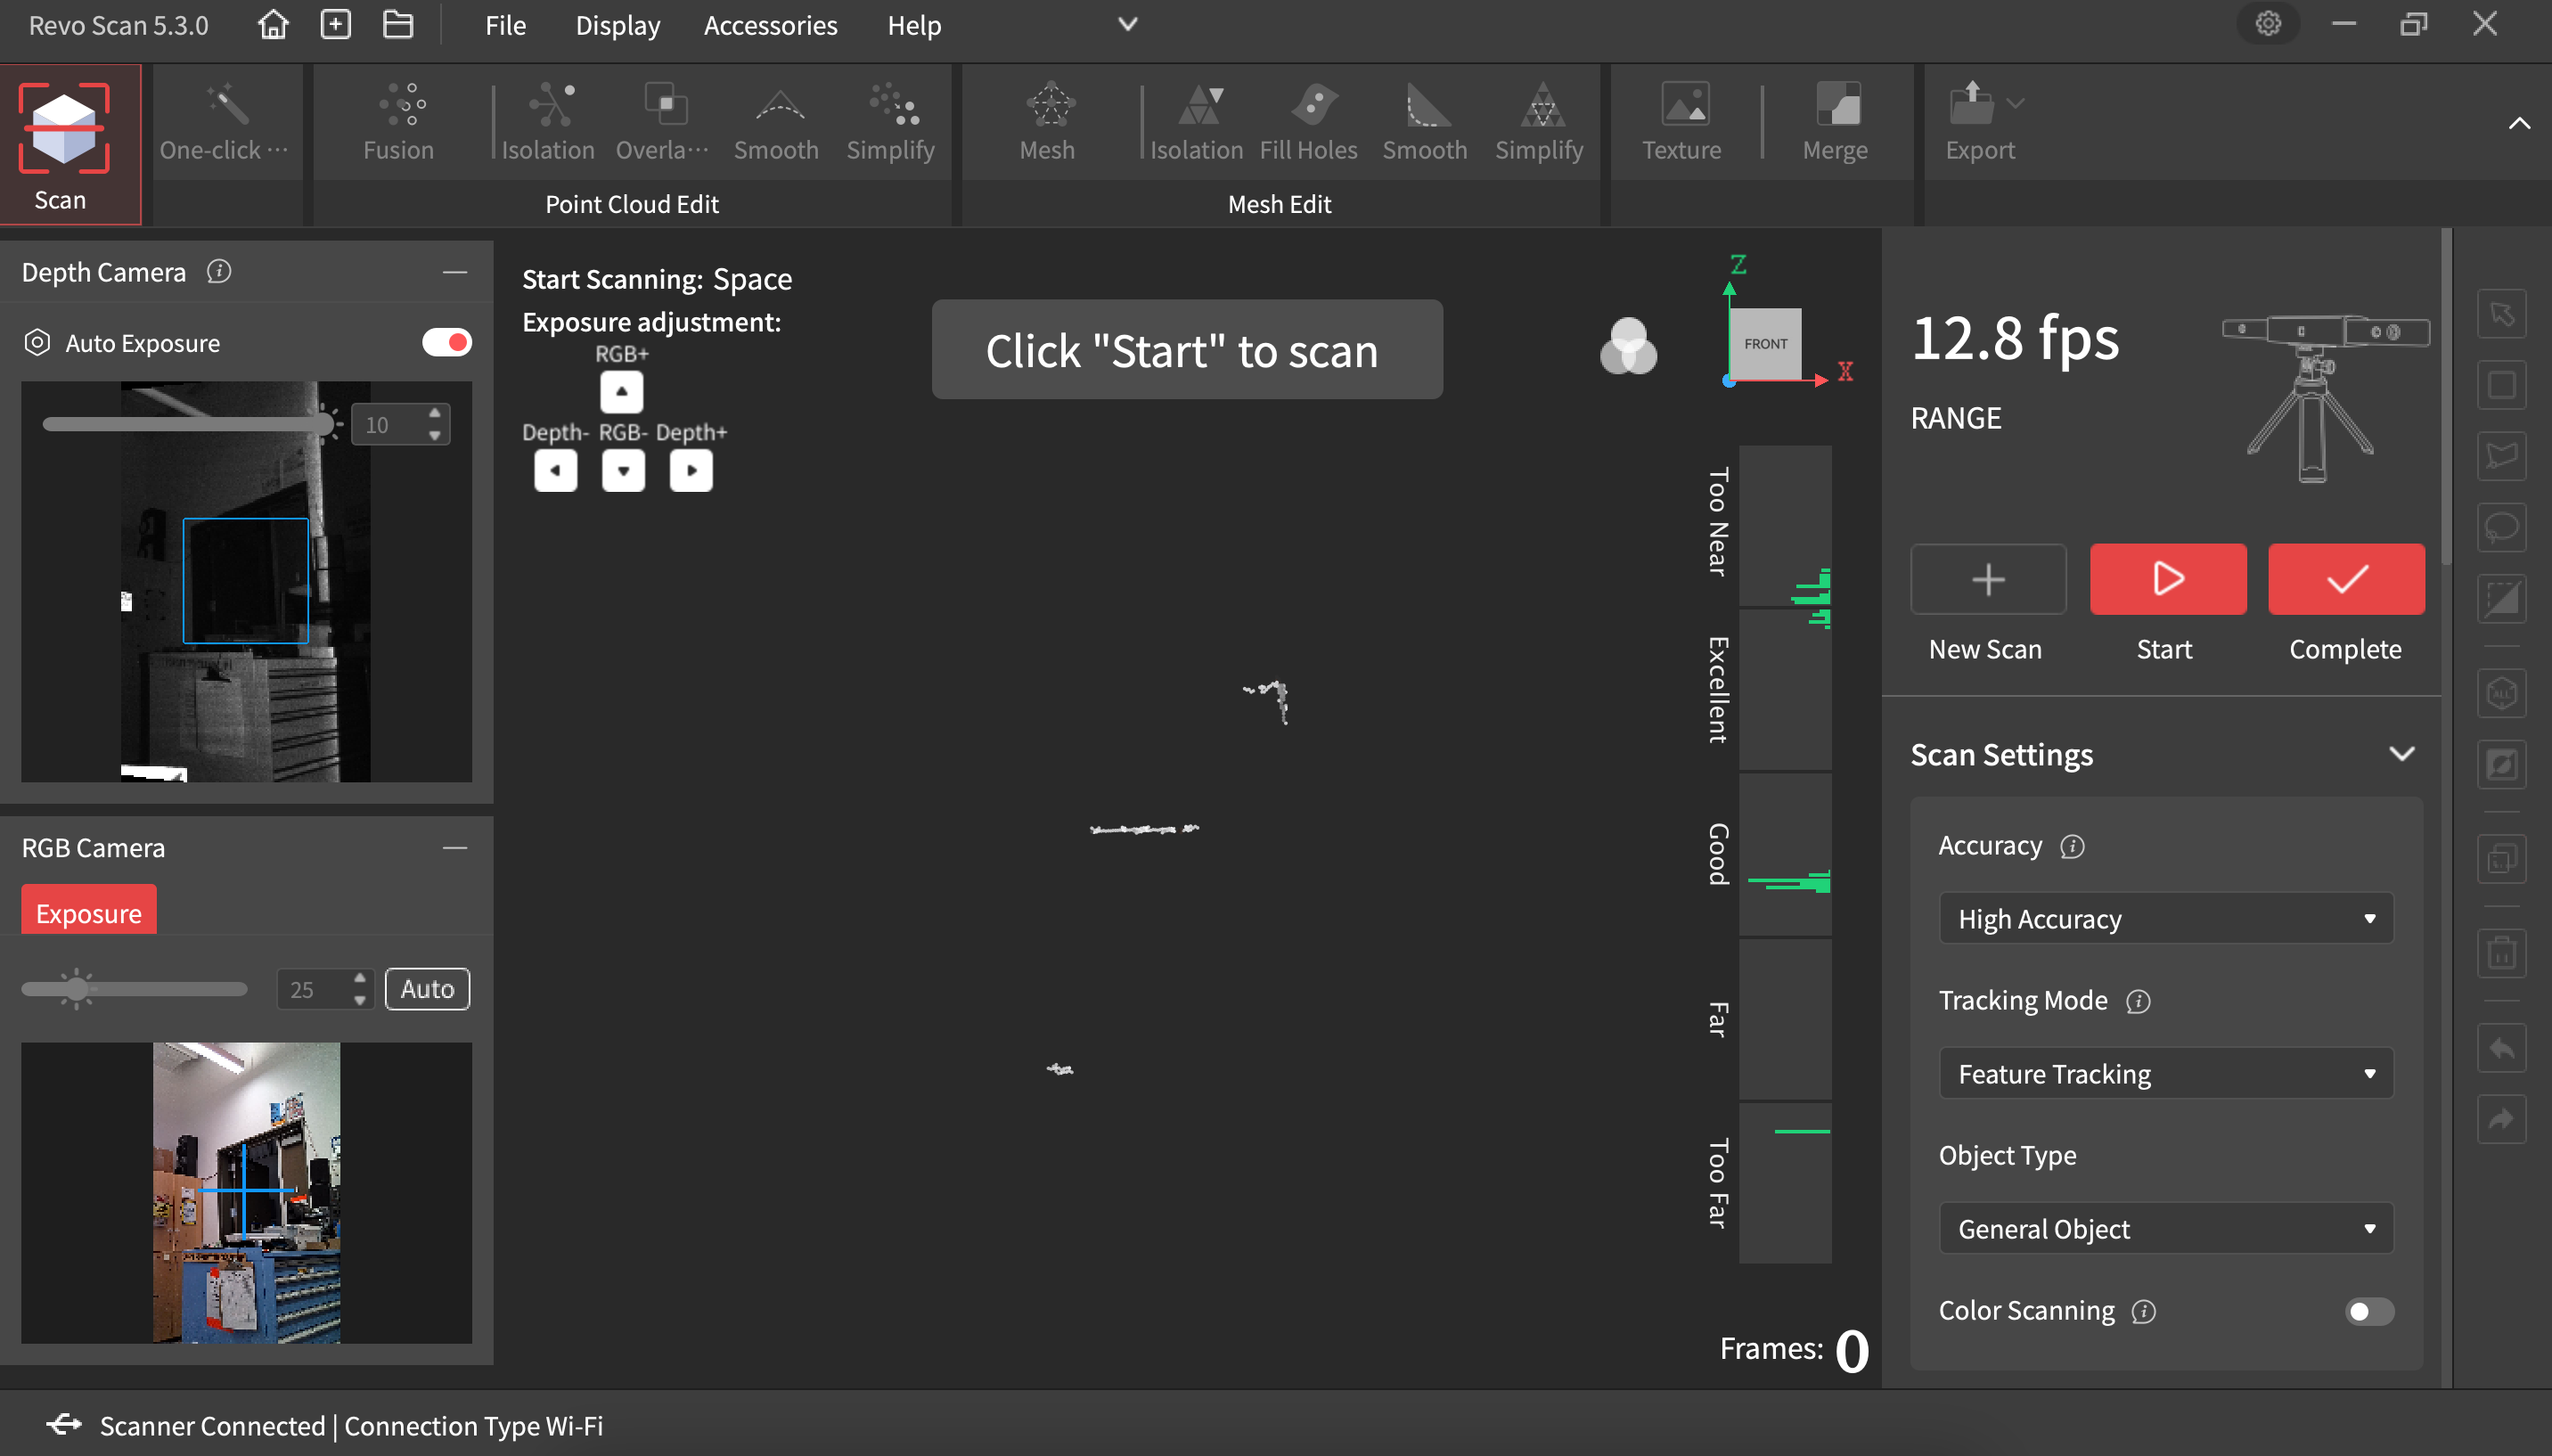
The scanner should move smoothly and slowly around the object being scanned. It is imperative that the scanner maintains the same distance from the object of interest. If you pause the scan, the object and scanner must stay put until the scanning resumes. Click complete to end the scanning process.
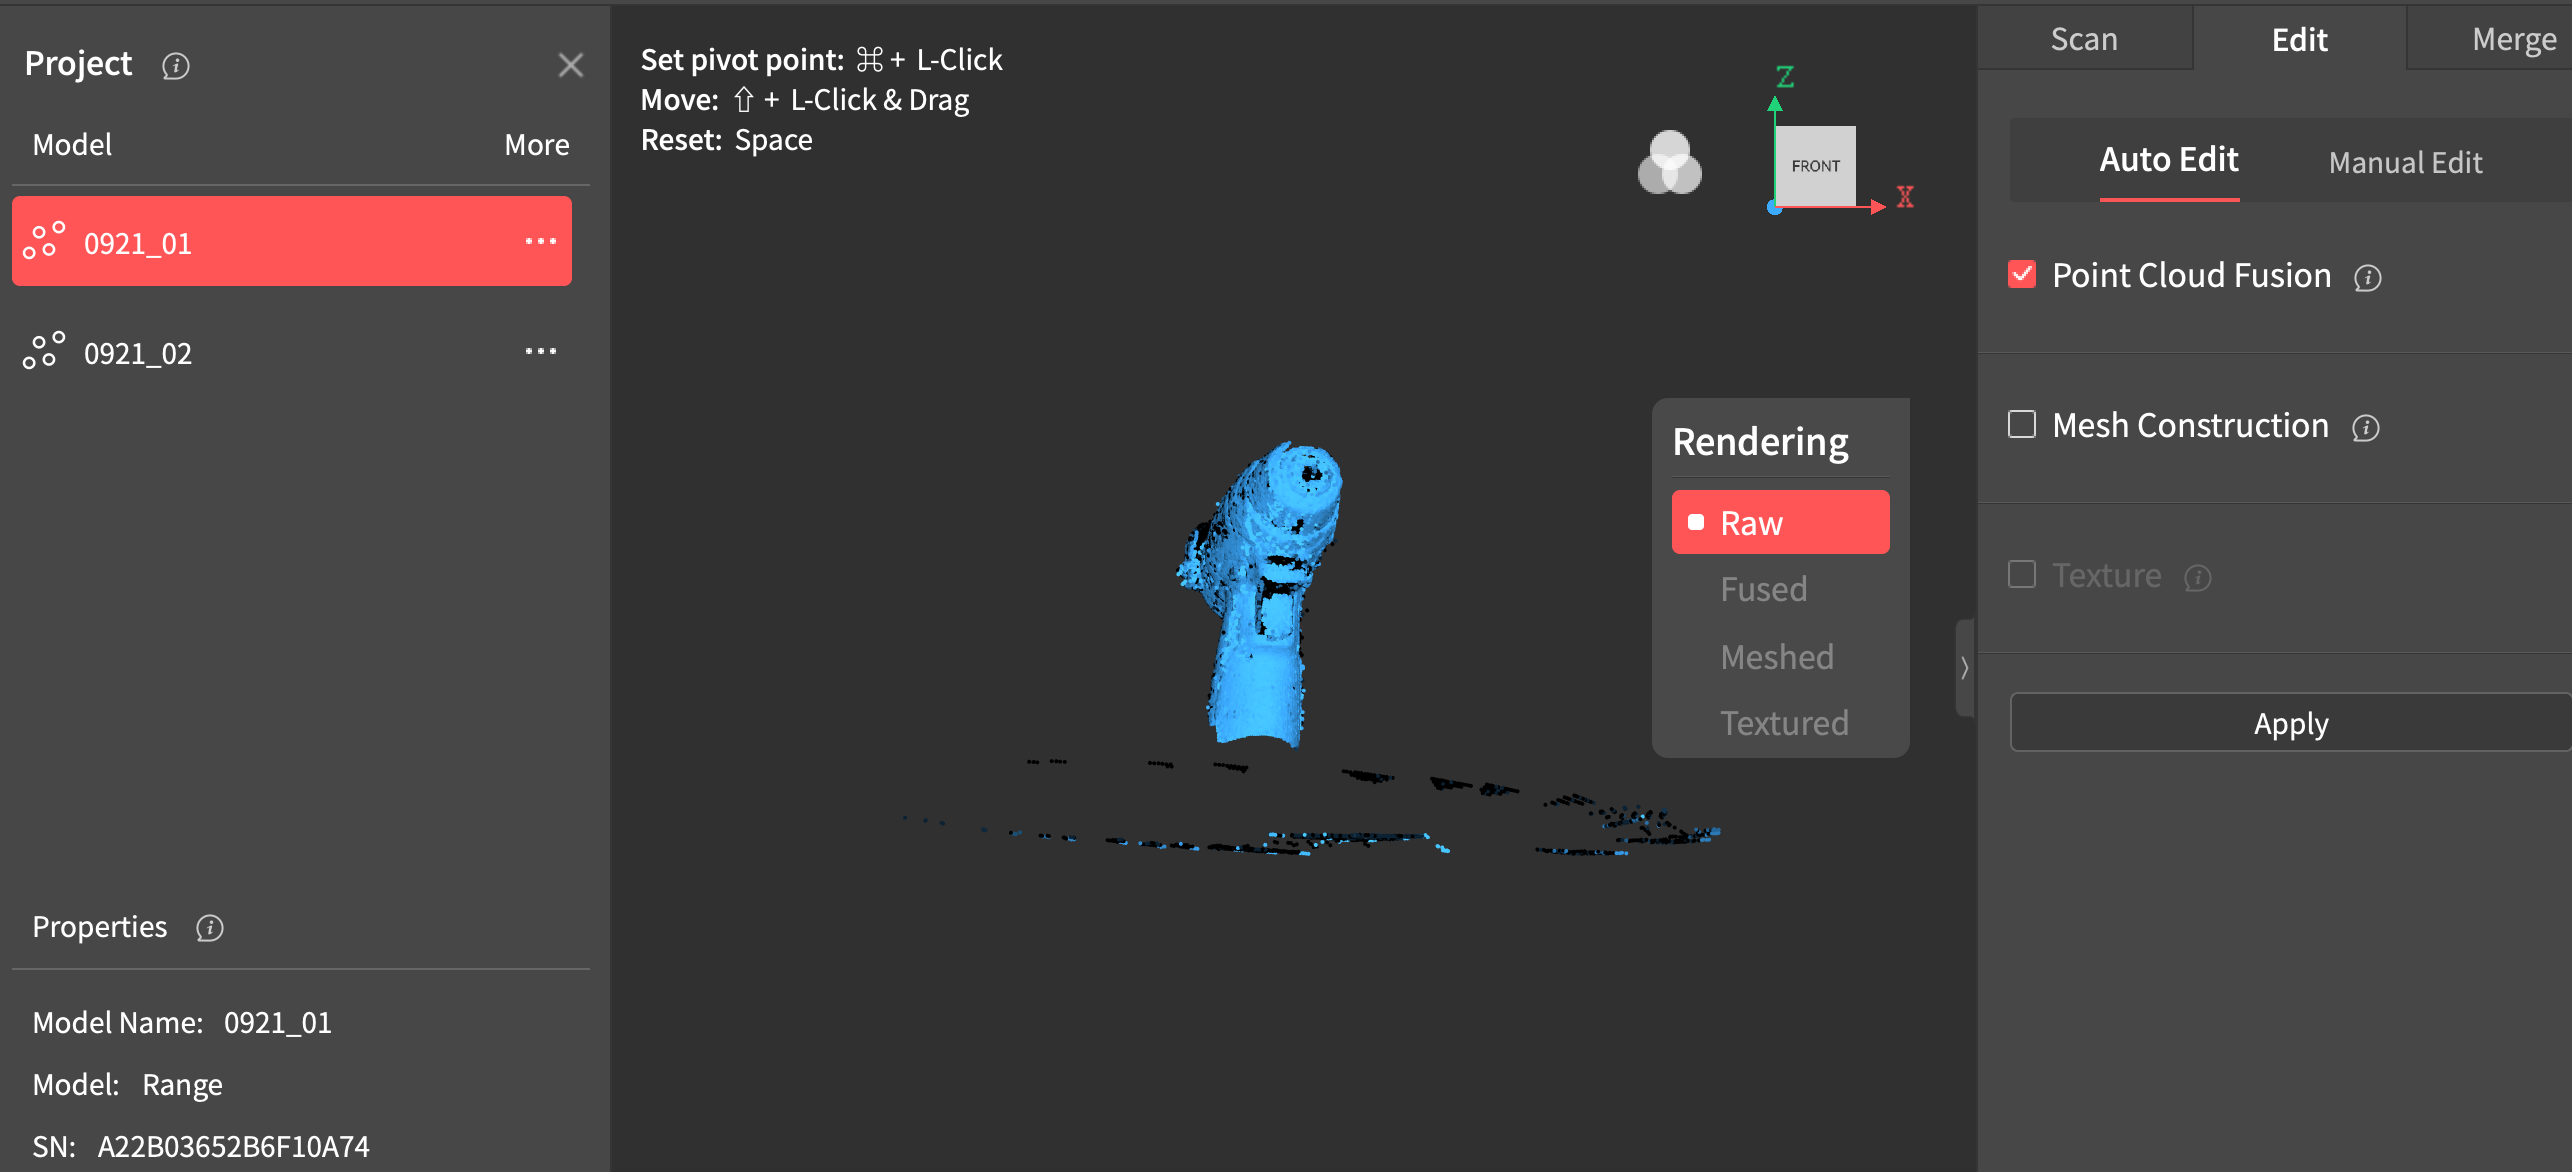
- One Click Edit will process the scan automatically
- Fusion: Merge the point cloud into something that can be further refined
- Isolation: remove noise
- Mesh: Transfer a fused, refined model into a solid model
- Fill holes: fill open holes in the model
Multiple models can be merged to fill in gaps on large objects. Make sure there is at least 10% overlap between fused point clouds to merge models.
- Export .stl for 3D printing
- Export as .obj for 3D modeling
- Export as .ply to store texture and color. .obj also does this.