
Art + Technology Project: Light Up Pin
An easy STEAM project for youth and adults
At the MSU Library Open House (Jan. 9, 2020), Science Math Resource Center staff hosted a booth featuring a simple project incorporating both art and technology. The project fulfilled the theme of the Open House, Alice in Wonderland, and would be applicable in many educational/outreach settings. It takes just a few minutes to make and is very fun!
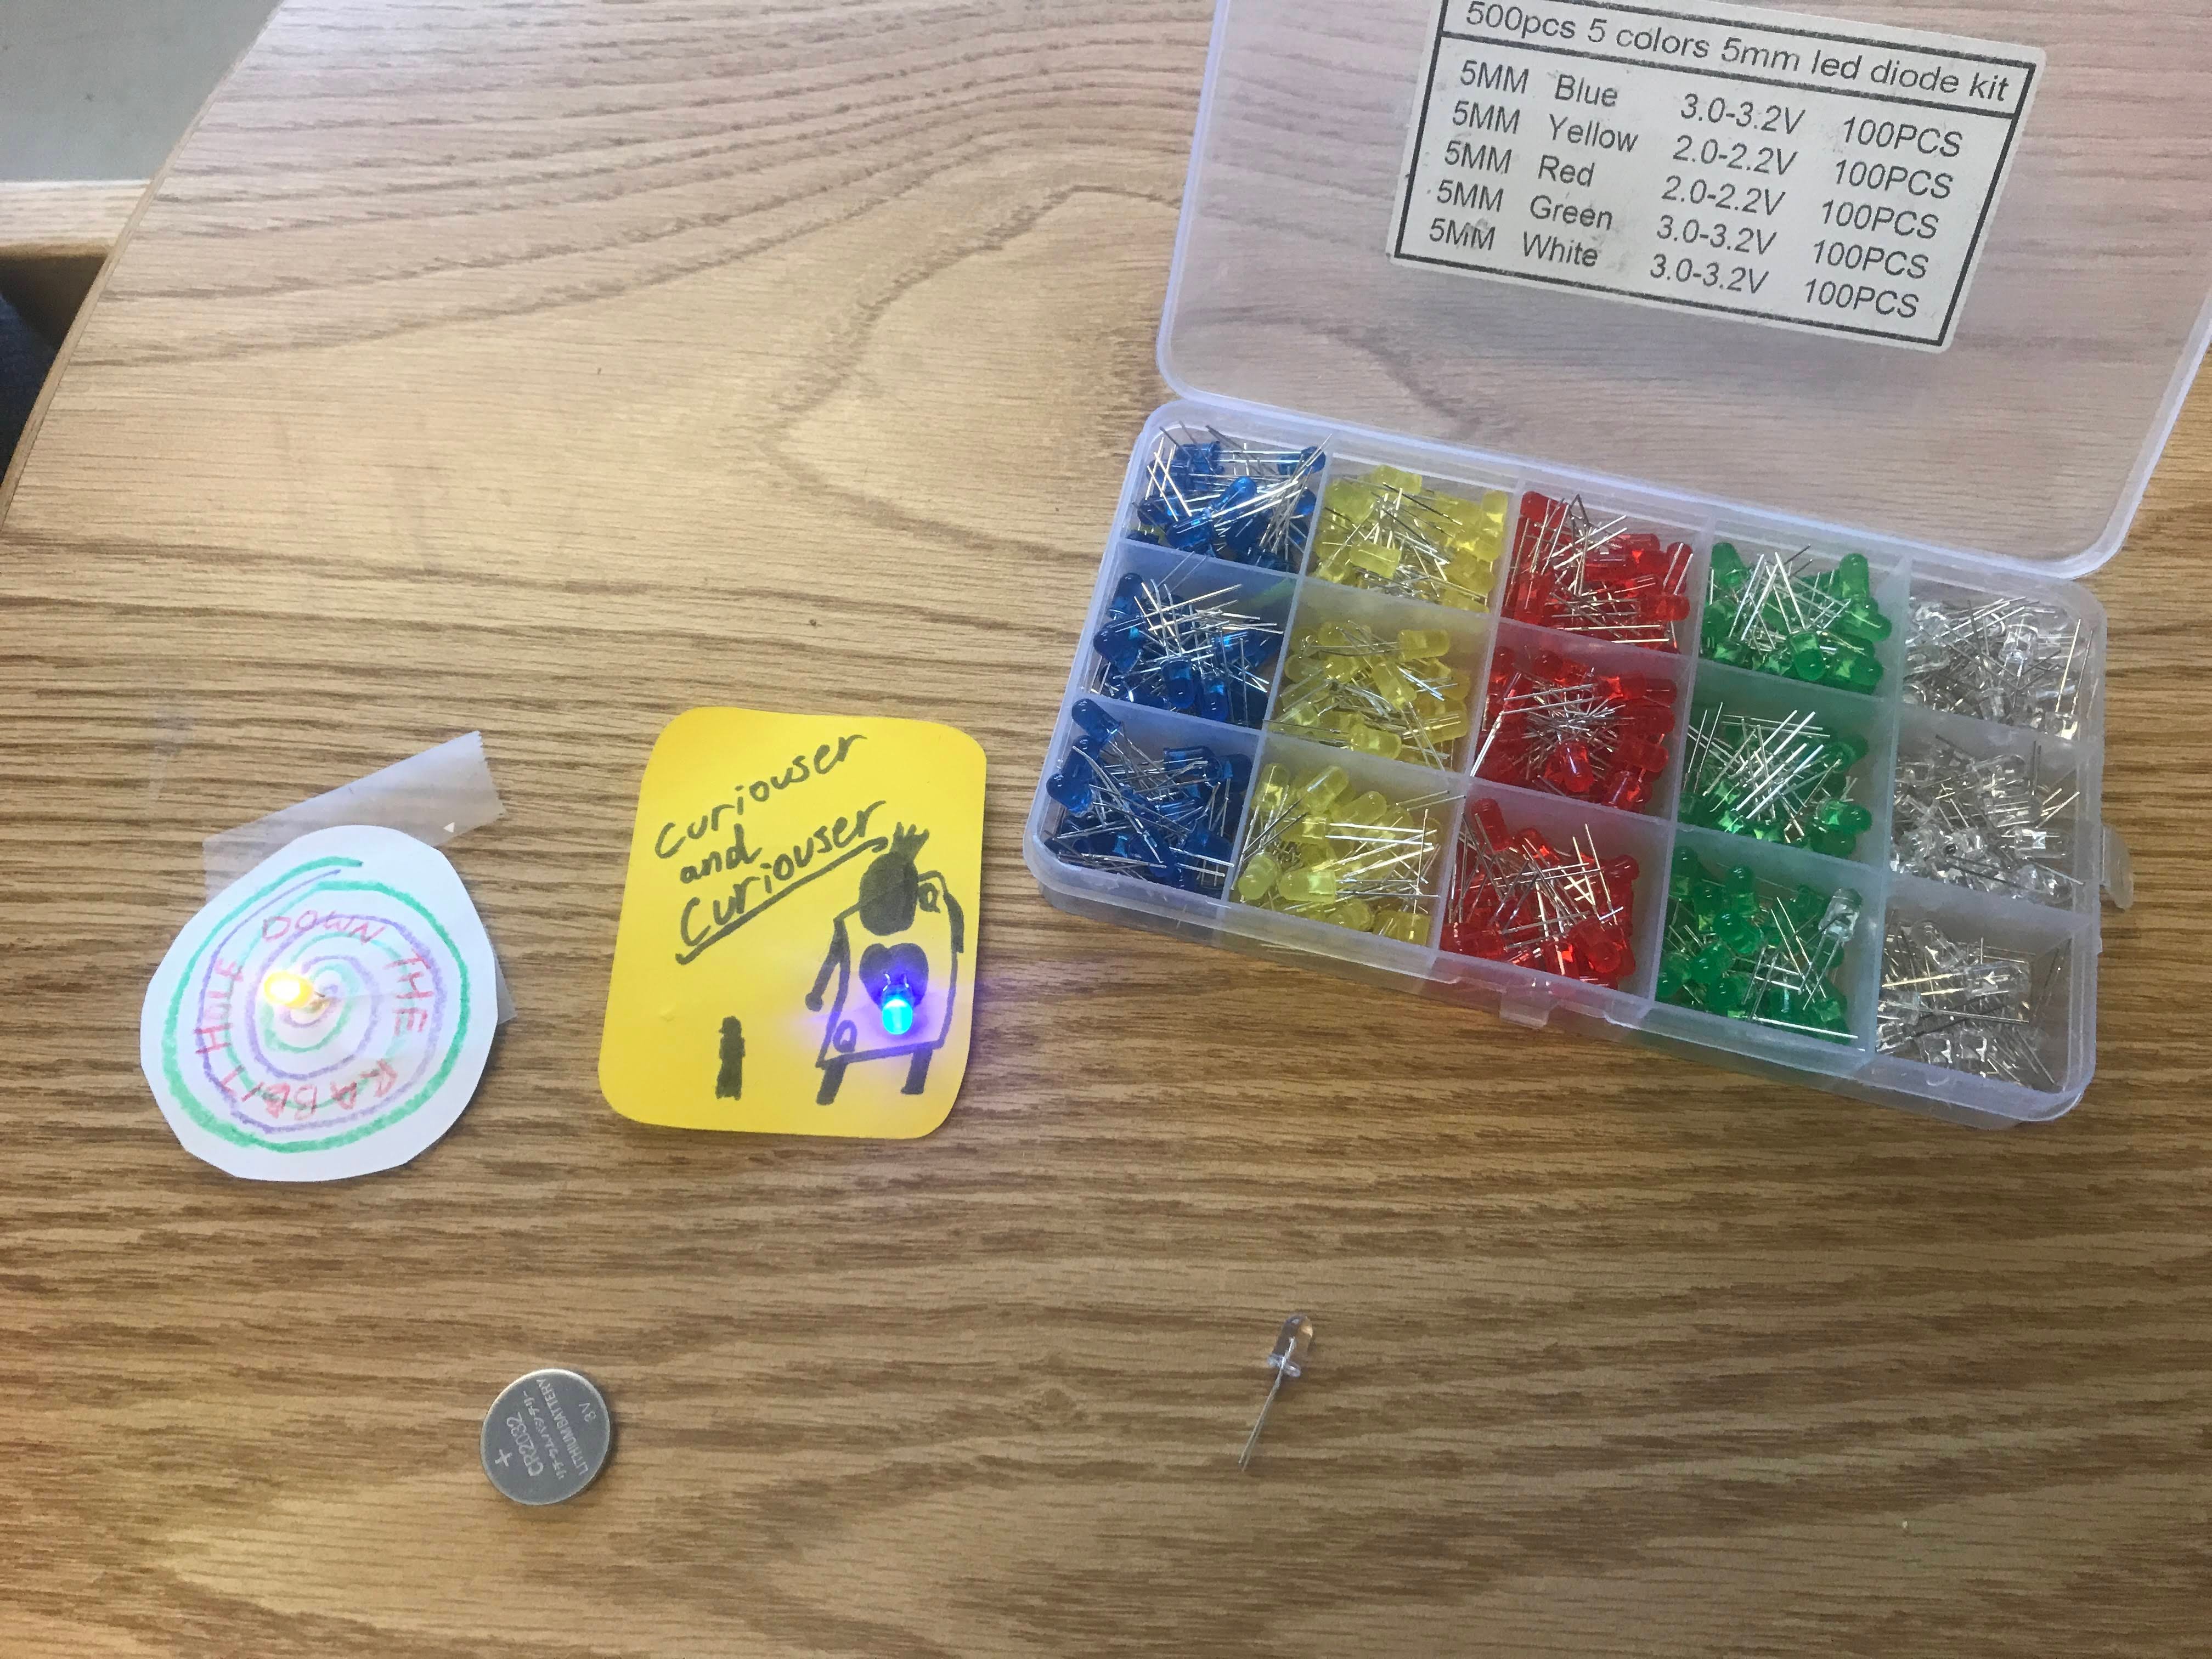
Supplies needed:
- Coin cell batteries (we used 2032s, which are the kind often found in a garage door opener). We bought 100 for $20 on Amazon.
- LED variety pack. We found 300 for $7.68 on Amazon.
- Safety pins
- Tape
- Card stock
- Other art supplies: markers, crayons, etc. You could go big with glitter, pipe cleaners, almost anything!
Instructions:
- Create your art using any available supplies
- When done with your art, choose an LED (our kit had five different colors), and punch its "legs" through the art. (The legs are bendy; you may want to first make a small hole with a pin or other sharp object).
- To light the LED, insert the battery between its legs. The longer leg goes on the
positive (smooth) side of the battery, and the shorter leg must touch the negative
side of the battery. [NOTE: This photo shows the LED and battery connecting BEFORE
we punched it through the artwork]
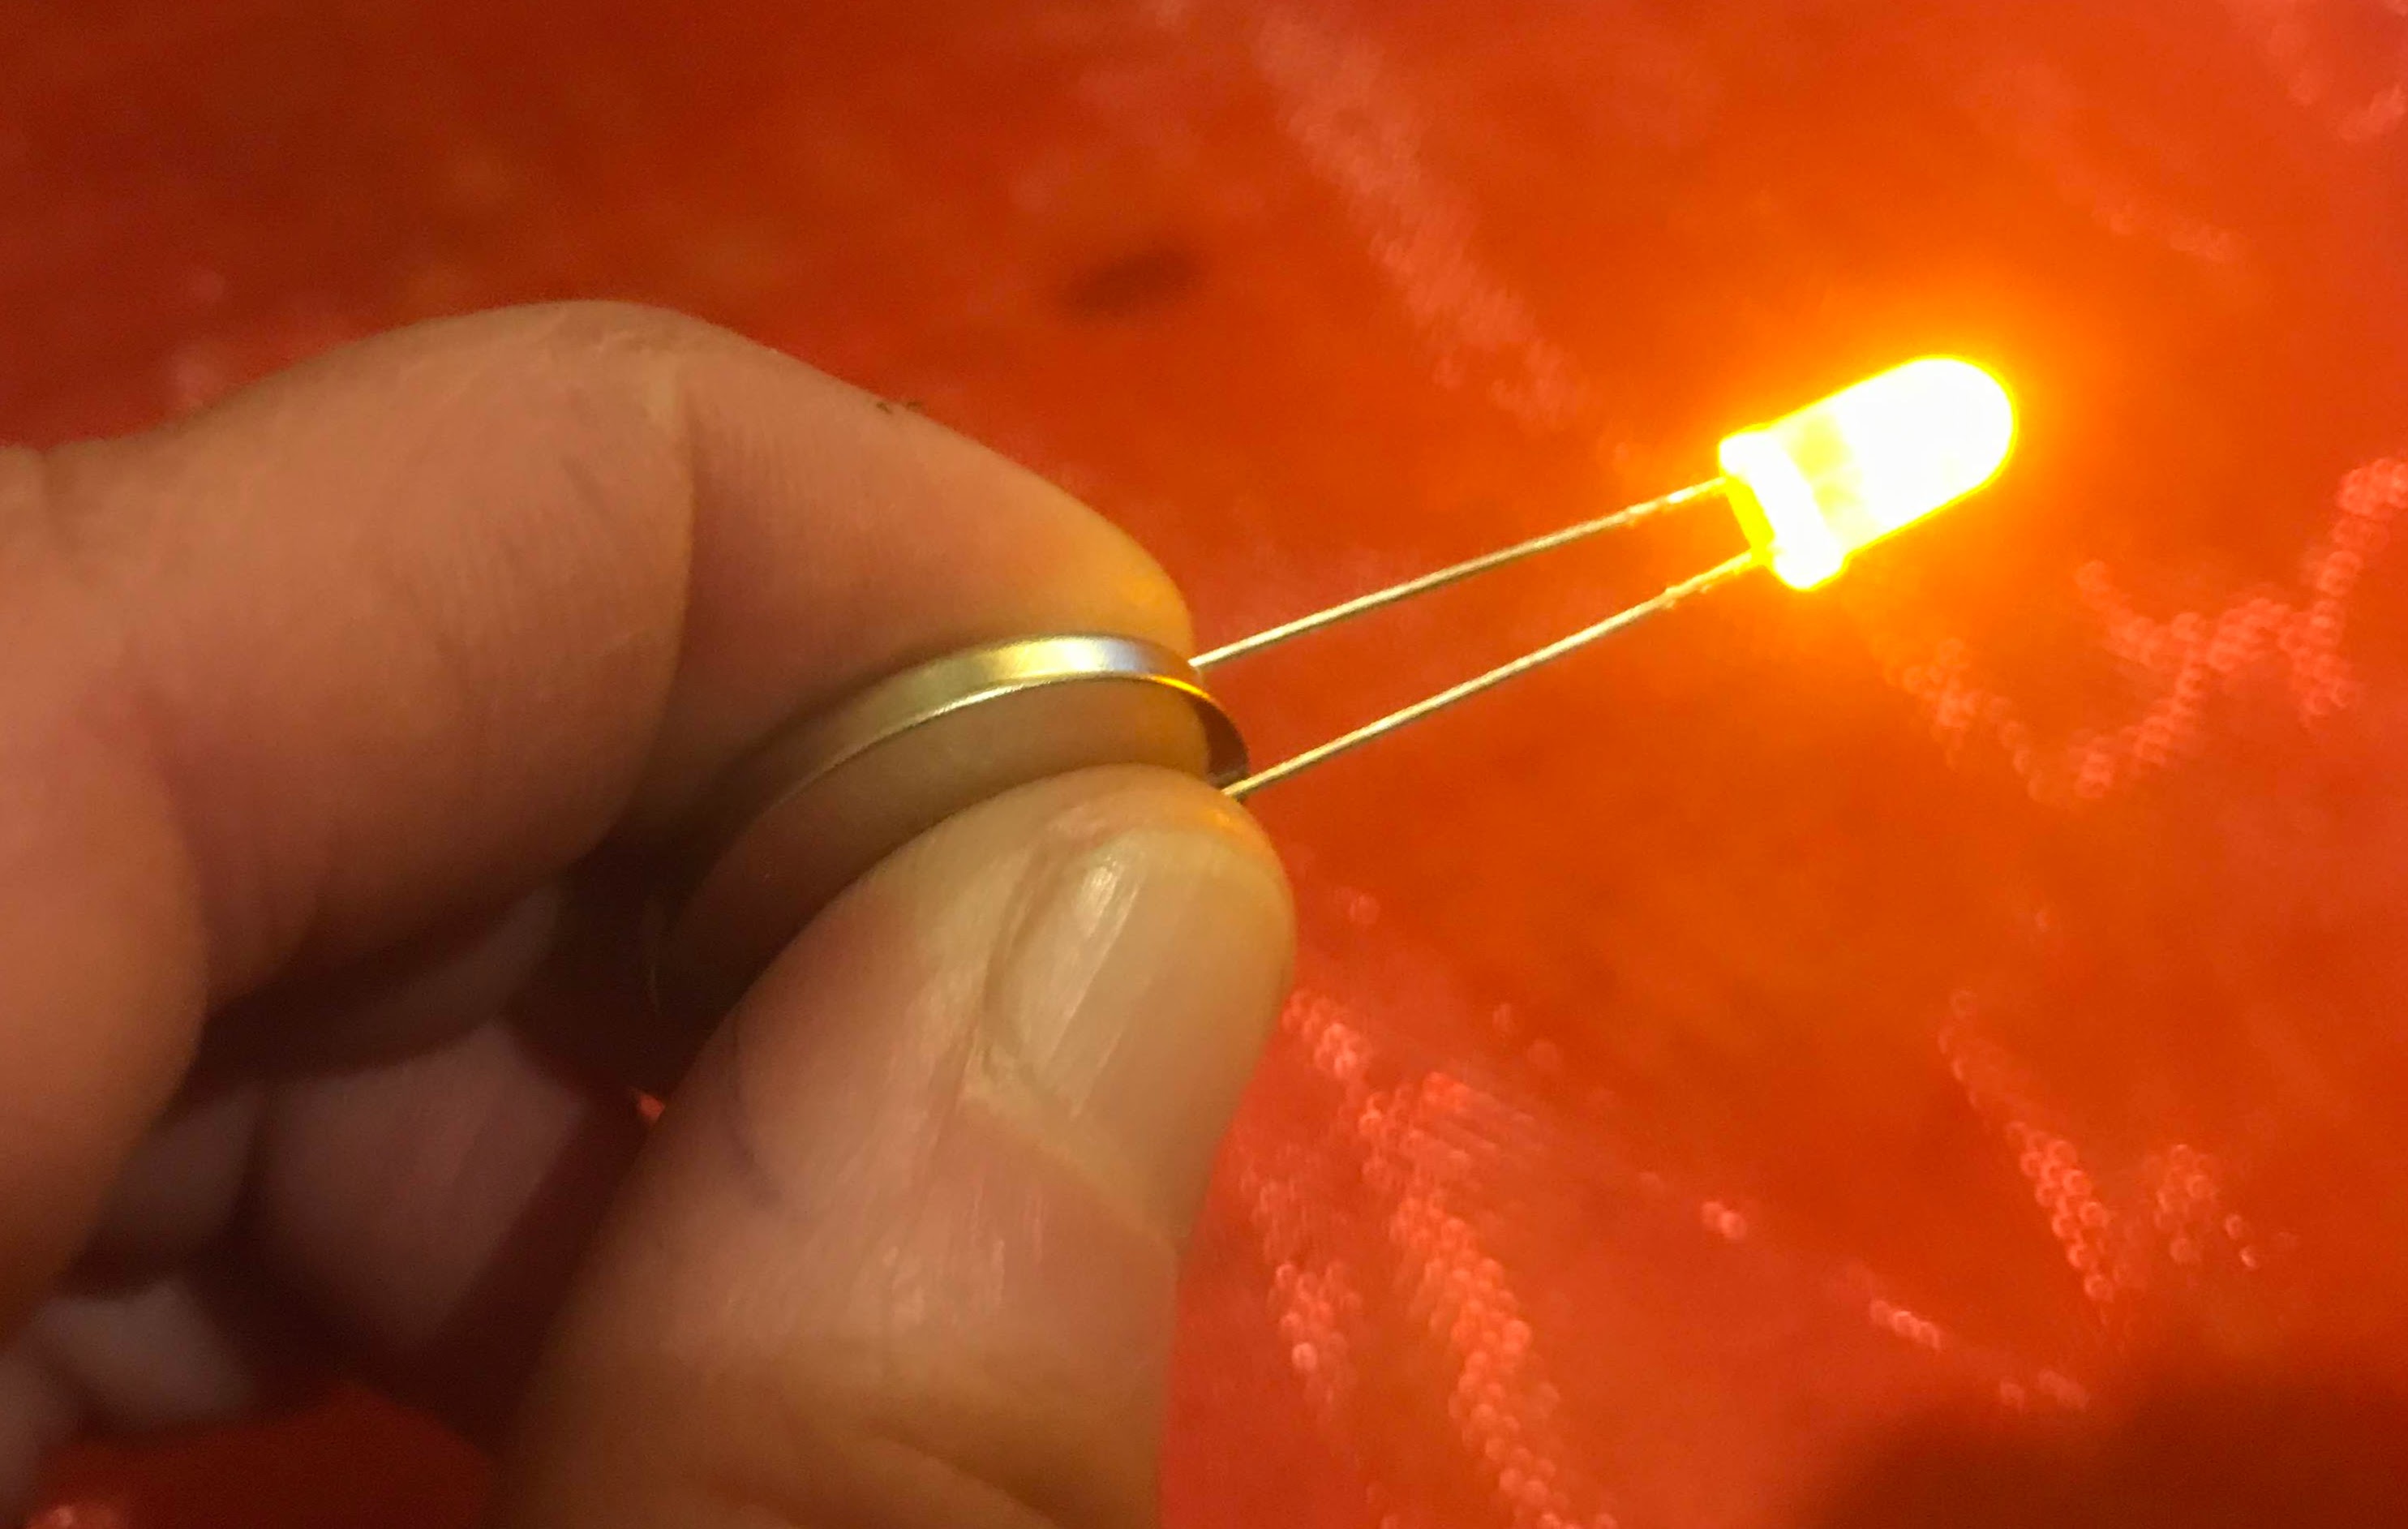
- Wrap clear tape around the battery to squeeze the legs in place. The LED will stay lit up if the legs remain pinched to the battery.
- You can now carefully bend the legs (keeping them pinched against the battery), and tape the battery flat against the back of the art.
- Attach a safety pin and wear your art!
Other options:
- How many LEDs can you light with one battery?
- Can the LED be separated from the battery? Check this out!
- What else would be cool with lights on it? Maps? Clothes? Be creative!
Next steps:
Did you use this project in your school or organization? Let us know how it worked! Email [email protected]